December 10, 2020 / Nirav Shah
Supervisor is a client/server system that allows to monitor and control a number of processes on UNIX-like operating systems.
The components of the Supervisor are:
Pre-requirement:
You have to install python on your server.
Installing Supervisor
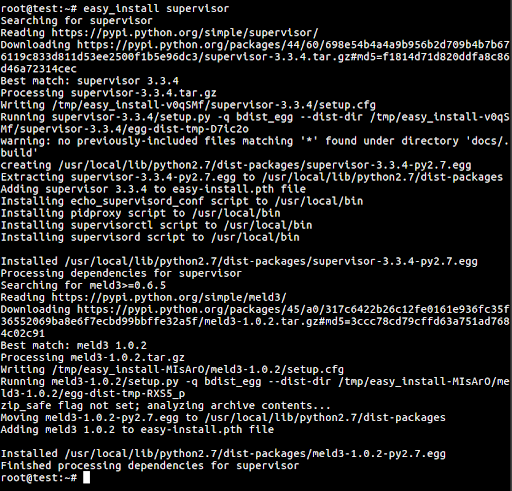
By downloading the Supervisor package by the command
#apt-get install python-setuptools
sudo easy_install supervisor

Now reboot your server and chillout.
Now we have to create a file inside the Etc folder and named supervisor. Follow below command:
sudo mkdir /etc/supervisor
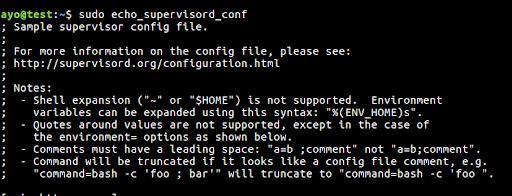
Run the command echo_supervisord_conf to print a “sample” Supervisor configuration file to your terminal stdout.
echo_supervisord_conf

Next, type the command as below as a root:
echo_supervisord_conf > /etc/supervisor/supervisord.conf

[include]
files=conf.d/*.conf

Starting the supervisor server
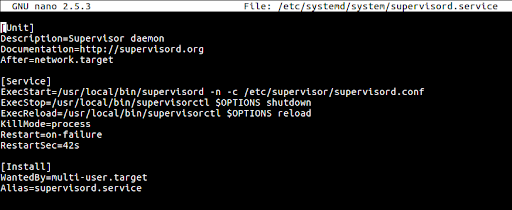
Firstly, create a file called supervisord.service in the /etc/systemd/system directory.
touch /etc/systemd/system/supervisord.service
Open it with vim and add the following below to the file.
[Unit]

Description=Supervisor daemon

Documentation=http://supervisord.org

After=network.target

[Service]

ExecStart=/usr/local/bin/supervisord -n -c

/etc/supervisor/supervisord.conf

ExecStop=/usr/local/bin/supervisorctl $OPTIONS

shutdown

ExecReload=/usr/local/bin/supervisorctl $OPTIONS

reload

KillMode=process

Restart=on-failure

RestartSec=42s

[Install]

WantedBy=multi-user.target

Alias=supervisord.service

Save the file using :wq!
And start the supervised service by the following command and see the status.
systemctl start supervisord.service
systemctl status supervisord.service

Adding a Program
Now we are going to add the script.
supervisor_cw_hello.sh.

sudo touch supervisor_cw_hello.sh

sudo nano supervisor_cw_hello.sh

#!/bin/bash

while true

do

echo "This is xyz"

# Echo current timestamp to stdout

echo Hello Supervisor: `date`

# Echo 'error!' to stderr

echo An error occurred at `date`! >&2

sleep 1

done
Make the script executable with the command below:
sudo chmod +x supervisor_cw_hello.sh

sudo touch /etc/supervisor/conf.d/supervisor_cw_hello.conf
Add the following with nano
[program:supervisor_cw_hello]
command=/home/ayo/supervisor_cw_hello.sh
autostart=true
autorestart=true
stderr_logfile=/var/log/hello.err.log
stdout_logfile=/var/log/hello.out.log
After successfully adding a new program, we should run the following two commands.
sudo supervisorctl reread

sudo supervisorctl update

sudo supervisorctl

You can see the process called supervisor_cw_hello with a RUNNING status.
To see all available commands, type help

The Web Server Client: To allow access to the supervisord web server, open the supervisord configuration file and locate the [inet_http_server] section.
sudo nano /etc/supervisor/supervisord.conf

Edit the following configuration
[inet_http_server]

port=*:9001

username=user

password=123

Add username and password and restart the service
sudo systemctl restart supervisord.service
Service is running on port 9001 on your firewall.
http://{server-ip}:9001

and it is working. This concludes the installation and working of AWS Supervisor for monitoring the OS processes.

As a Director of Eternal Web Private Ltd an AWS consulting partner company, Nirav is responsible for its operations. AWS, cloud-computing and digital transformation are some of his favorite topics to talk about. His key focus is to help enterprises adopt technology, to solve their business problem with the right cloud solutions.
Have queries about your project idea or concept? Please drop in your project details to discuss with our AWS Global Cloud Infrastructure service specialists and consultants.