Step by Step Guide to Install WordPress on AWS for free

Step by Step Guide to Install WordPress on AWS for free

July 16, 2019 / Nirav Shah

Host your first wordpress website free for the first 12 months on AWS EC2

EXTRACT We are going to share the steps that should be performed to host your first wordpress website on AWS which will be free of charge* for the first 12 months.


TABLE OF CONTENTS


Step by Step Guide to Install WordPress on AWS for free


Steps To Setup WordPress on AWS


Spread Love By Sharing:


Related Blogs


Services


Contact us

WordPress Table of Contents by Topic

WordPress is one of the many popular Open Source Platform which will help you host your content which can widely range from blogs on anything to your enterprises main-page. It is probably an easy and power packed Blogging and Website Content Management System(CMS). It is so famous that it powers a percentage of 26.4% of the Internet as well as the most used CMS as it has almost 59% market share in CMS usage as well as interestingly, on a daily basis almost 500 sites are created on WordPress.

Amazon Web Services(AWS) on the other hand is leading the Cloud Market by providing extremely customizable/tweakable cloud infrastructure as well as to-your-liking custom solutions for your cloud Hosting requirements.

To promote and make more and more people start using AWS Cloud Infrastructure they have an Introductory Plan called AWS Free Tier where they provide majority of services with a specified limit of usage every month for a consecutive 12 months period for newly created accounts. All you have to do is create a New Account and this Plan will be attached to your new account by default.

If you use the resources under their specified free tier limit; voila! No need to pay a single cent for that month and if you plan your resource usage accordingly for the next 11 months; you will be hosting your Content on AWS’s Best-in-the-Cloud-Market Infrastructure for $ 0, we repeat $ 0 for 1 year straight (exclude the domain-name ownership/renewal cost for your website).

We will Guide you through the procedure of launching an Instance in your AWS account to host your wordpress website but, the prerequisite would be for you to have a brand new AWS account which you should be able to create by clicking on the “Create a Free Account” on this page.

Steps To Setup WordPress on AWS

Once you are done with all the account creation formalities; hop back over here and follow the Steps which we instruct :-

1. Launch EC2 instance from AWS Console

2. Install Apache,MysqL,PHP on AWS EC2

3. Download and Configure WordPress for free on EC2

  • Now that our server software is configured, we will download the latest version of wordpress into the server as it is always recommended to get the latest version and set it up in the website root directory.
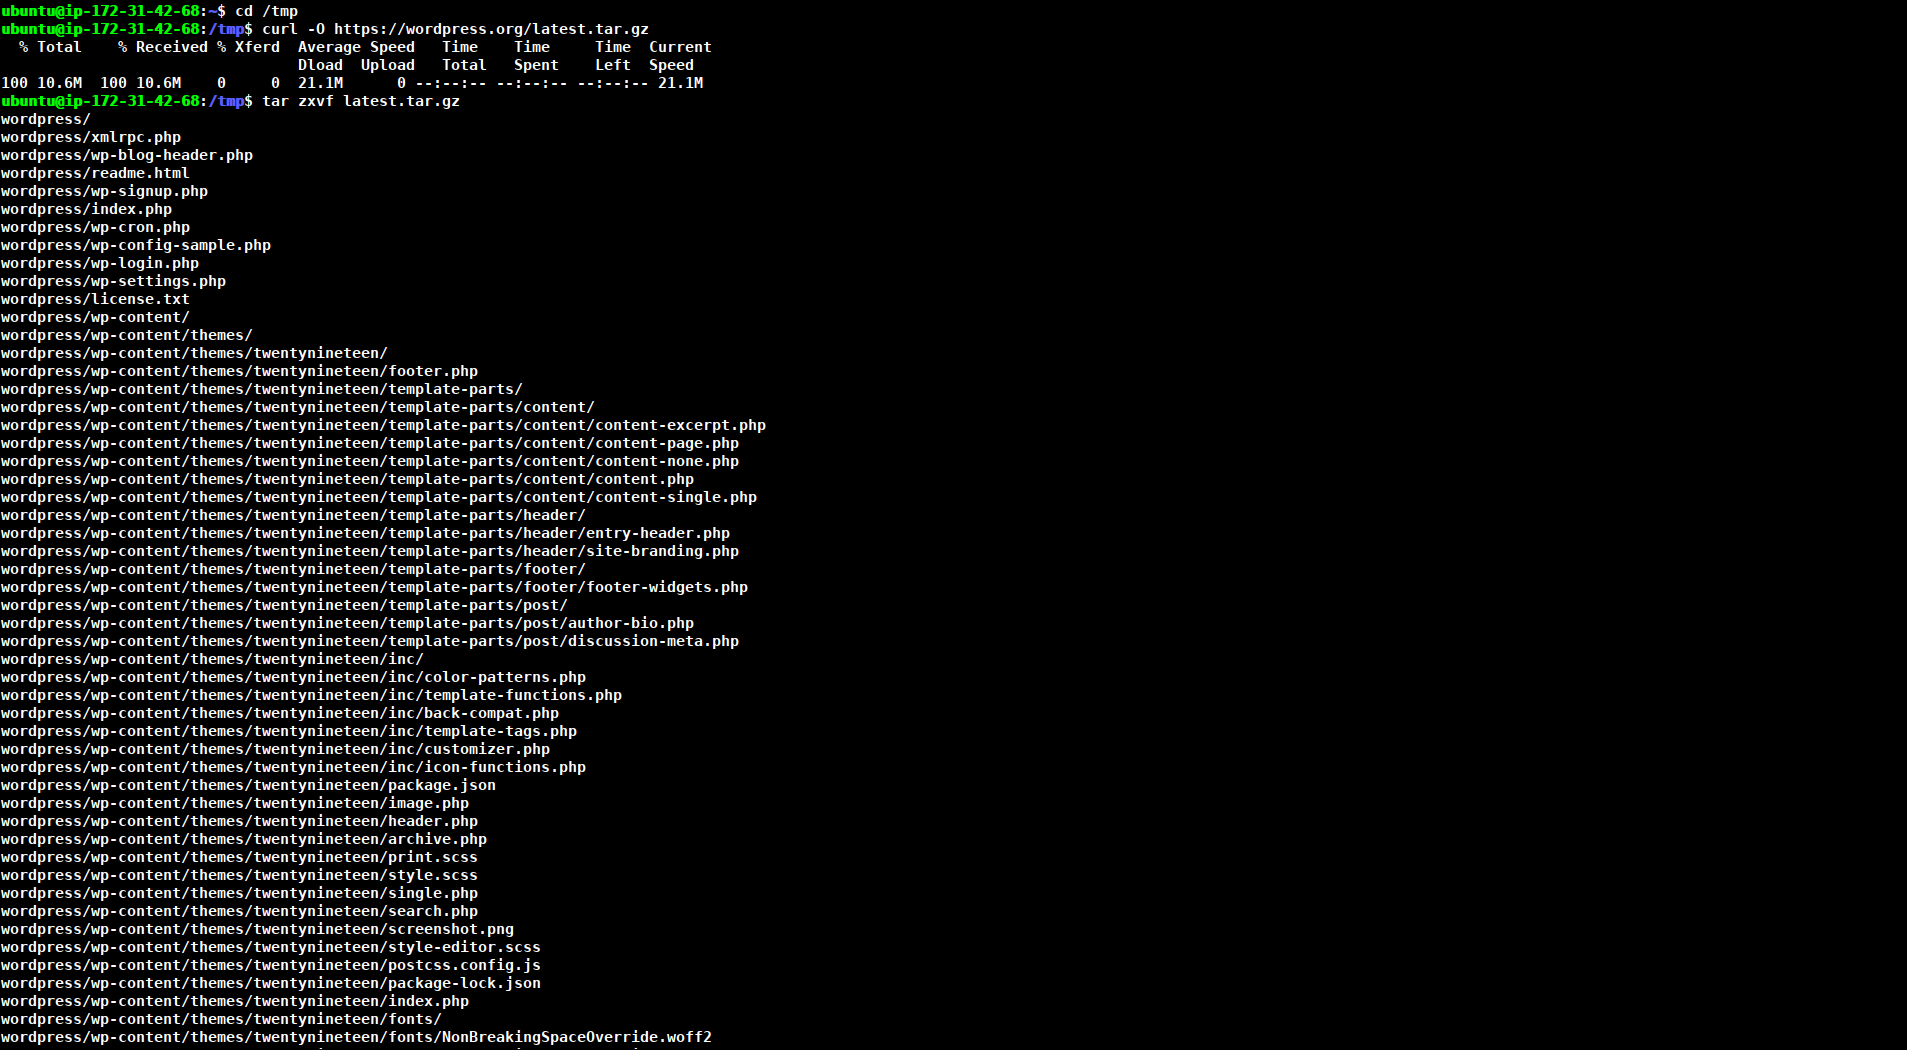
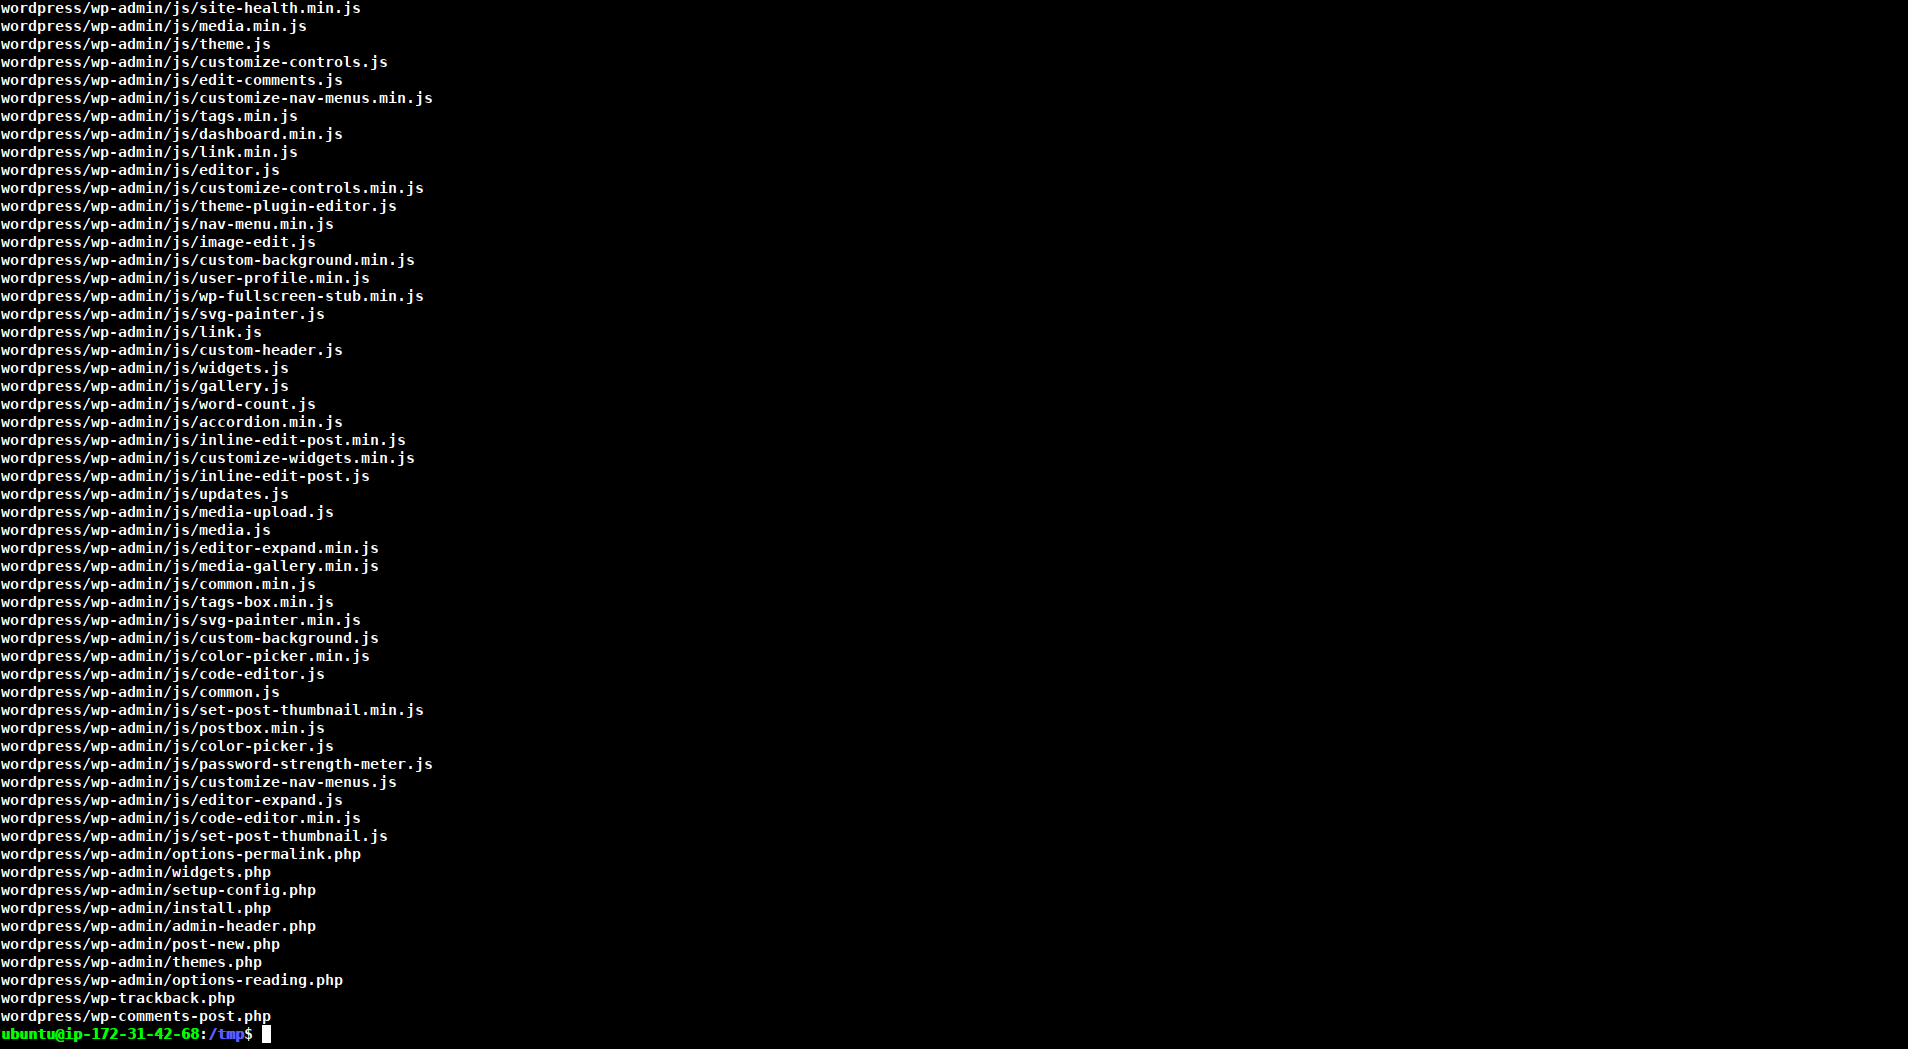
    • Go to “/tmp” directory and download the compressed release there:$ cd /tmp$ curl -O https://wordpress.org/latest.tar.gz
    • Extract the compressed file:$ tar zxvf latest.tar.gz
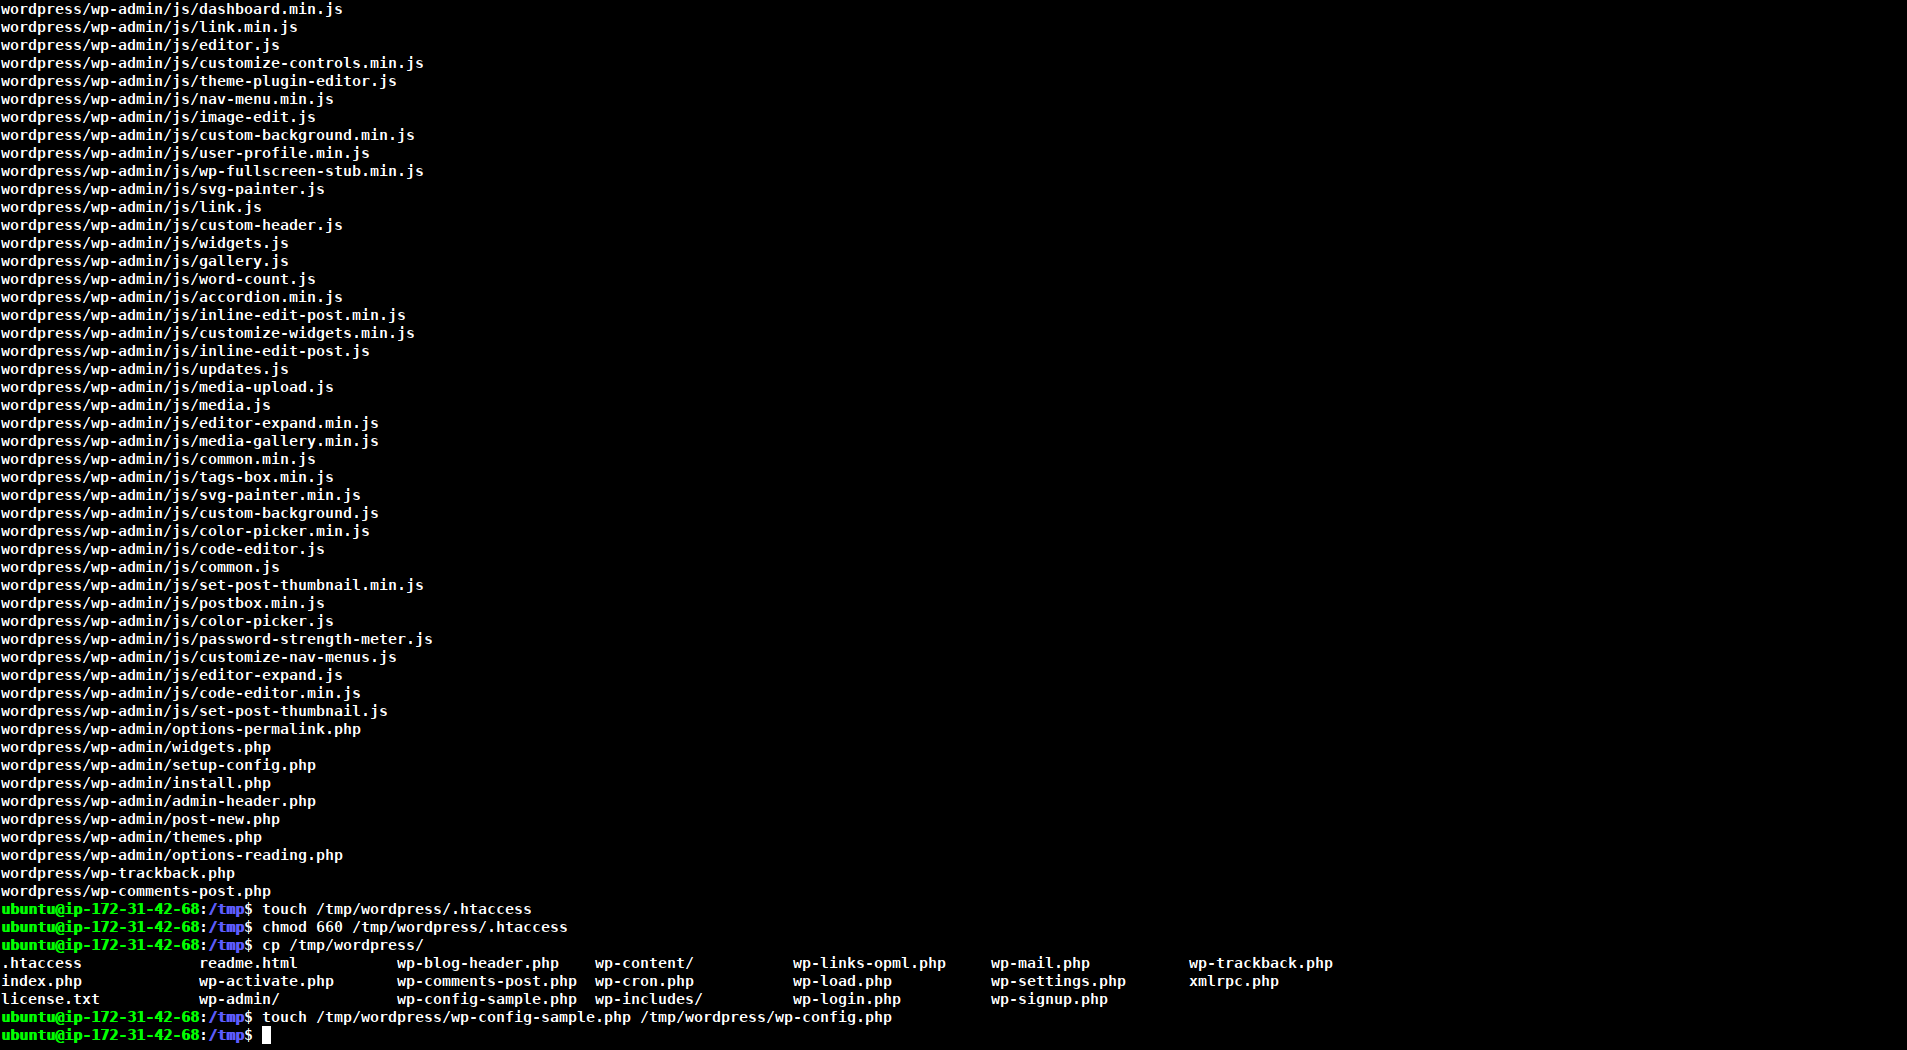
    • Before moving these files into the web-server root directory, we will add a dummy .htaccess file and set its permissions so that this will be available for WordPress to use later.$ touch /tmp/wordpress/.htaccess$ chmod 660 /tmp/wordpress/.htaccessWe’ll also copy over the sample configuration file to the filename that WordPress actually reads:$ cp /tmp/wordpress/wp-config-sample.php /tmp/wordpress/wp-config.php

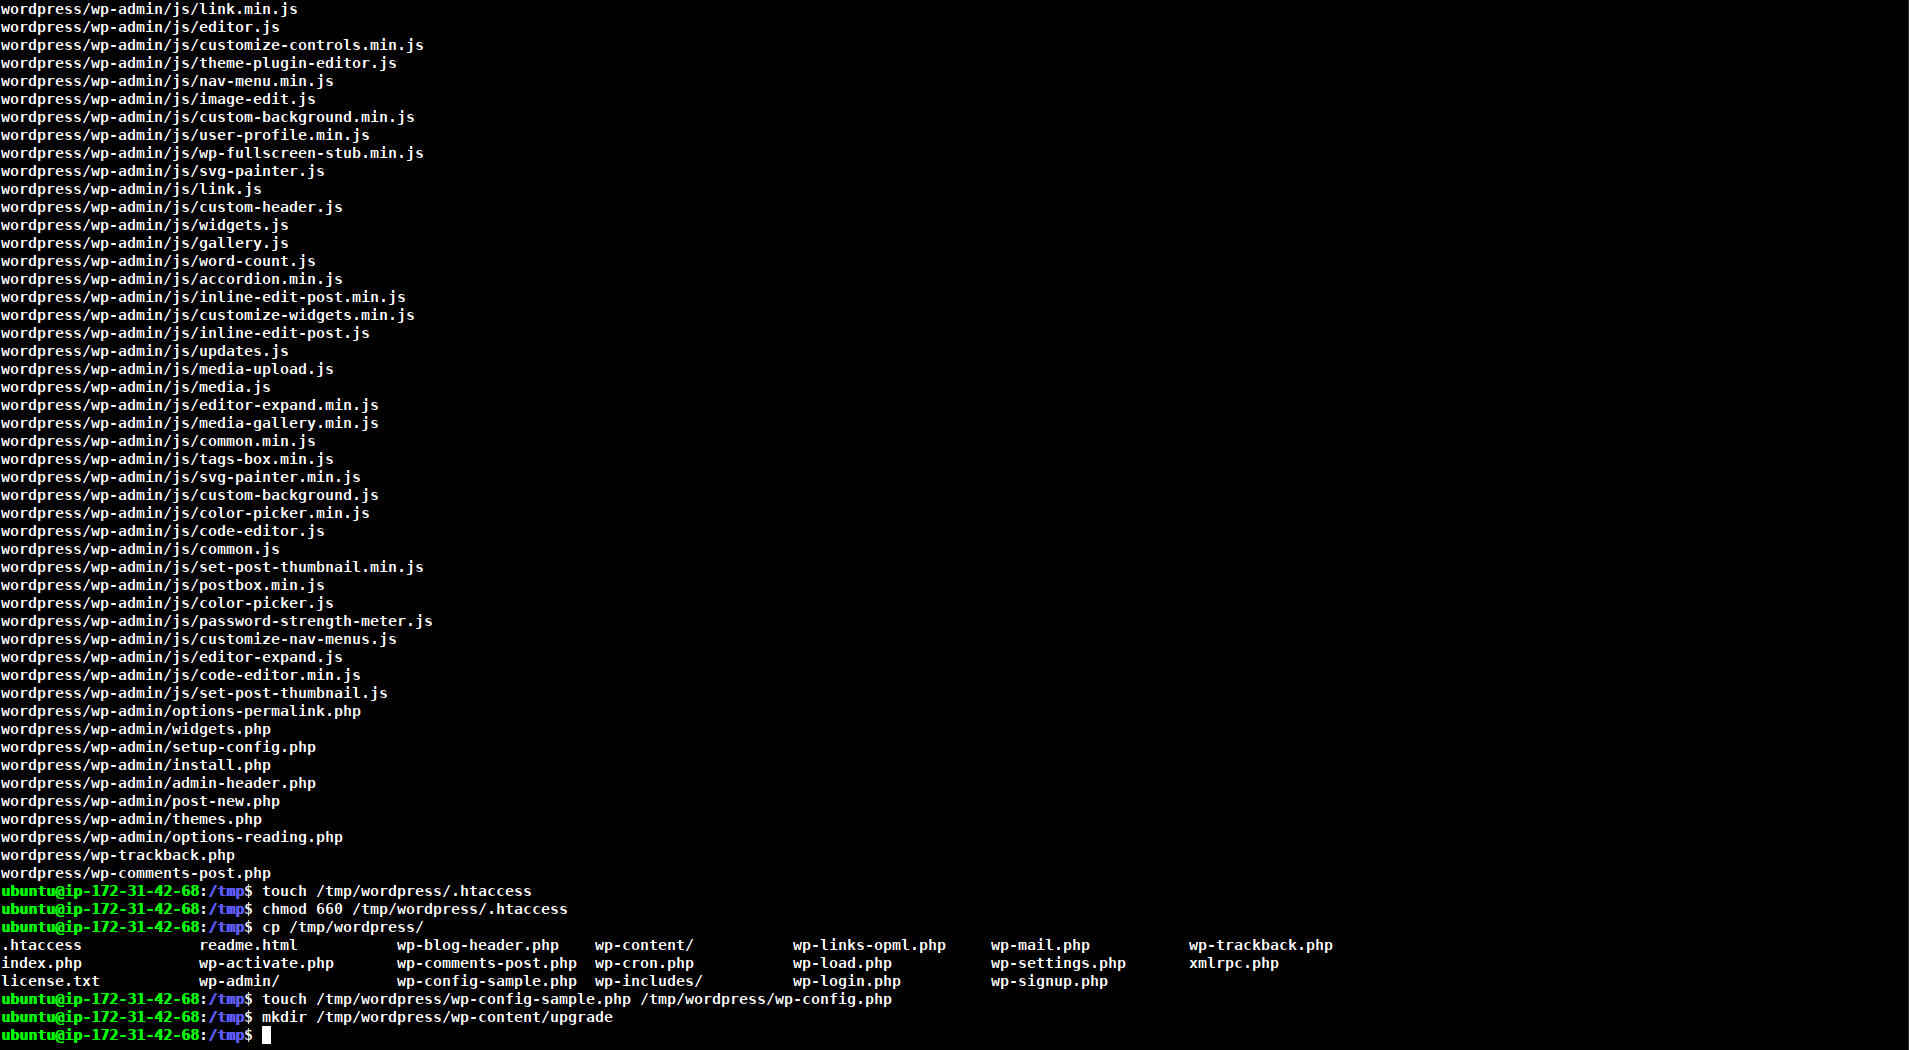
    • We can also create the upgrade directory, so that WordPress won’t run into permissions issues when trying to do this on its own following an update to its software:$ mkdir /tmp/wordpress/wp-content/upgrade
    • Now, we will copy the entire contents of the directory into our web-server root. We will use the -a flag to make sure our permissions are maintained. We will use a dot at the end of our source directory to indicate that everything within the directory should be copied, including hidden files (like the .htaccess file we created):$ sudo cp -a /tmp/wordpress/. /var/www/html
  • Now, before doing the web-based WordPress setup, we will need to adjust some items in our WordPress directory.
  • One of the main things is setting up reasonable file permissions and ownership. We need to be able to write these files as a regular user, and we need the web-server also to be able to access and adjust certain files and directories in order to function correctly.
    • We’ll assign ownership over all of the files in our web server root to our username which is ubuntu in our case but may vary according to your personal configuration and we will assign group ownership to the www-data group:$ sudo chown -R ubuntu:www-data /var/www/html
    • Next, we will set the setgid bit on each of the directories within the web-server root. This causes new files created within these directories to inherit the group of the parent directory (which we just set to www-data) instead of the creating user’s primary group. This just makes sure that whenever we create a file in the directory on the command line, the web-server will still have group ownership over it. We can set the setgid bit on every directory in our WordPress installation by typing:$ sudo find /var/www/html -type d -exec chmod g+s {} \;
    • There are a few other fine-grained permissions we’ll adjust. First we’ll give group write access to the wp-content directory so that the web interface can make theme and plugin changes:$ sudo chmod g+w /var/www/html/wp-contentAs part of this process, we will give the web server write access to all of the content in these two directories:$ sudo chmod -R g+w /var/www/html/wp-content/themes$ sudo chmod -R g+w /var/www/html/wp-content/plugins

      This should be a reasonable permissions set to start with. Some plugins and procedures might require additional tweaks.

  • Now, we will make some changes to the main WordPress configuration file.
    • We will adjust some secret keys to provide some security for our installation. WordPress provides a secure generator for these values so that you do not have to try to come up with good values on your own. These are only used internally, so it won’t hurt usability to have complex, secure values here.To grab secure values from the WordPress secret key generator, type:$ curl -s https://api.wordpress.org/secret-key/1.1/salt/You will get back unique values that look something like this:

      Now, open the WordPress configuration file:

      $ nano /var/www/html/wp-cofig.php

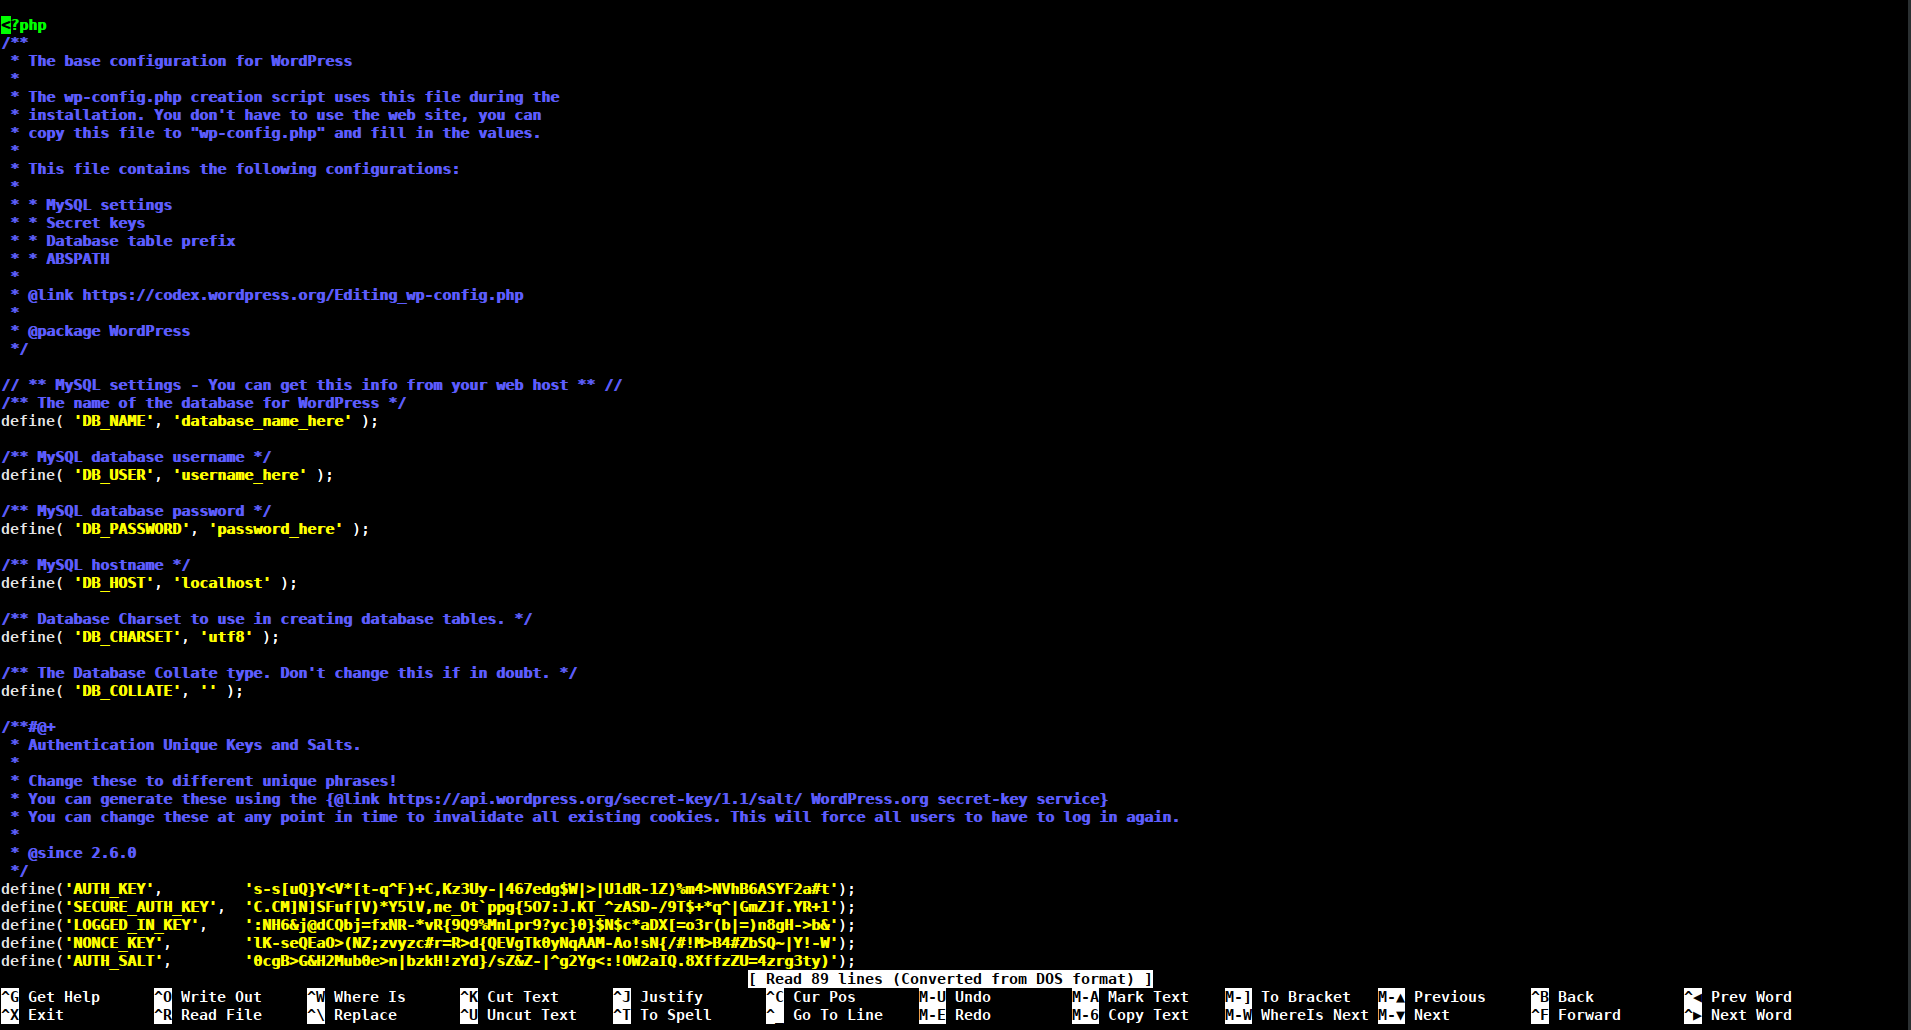
      Find the section that contains the dummy values for those settings.
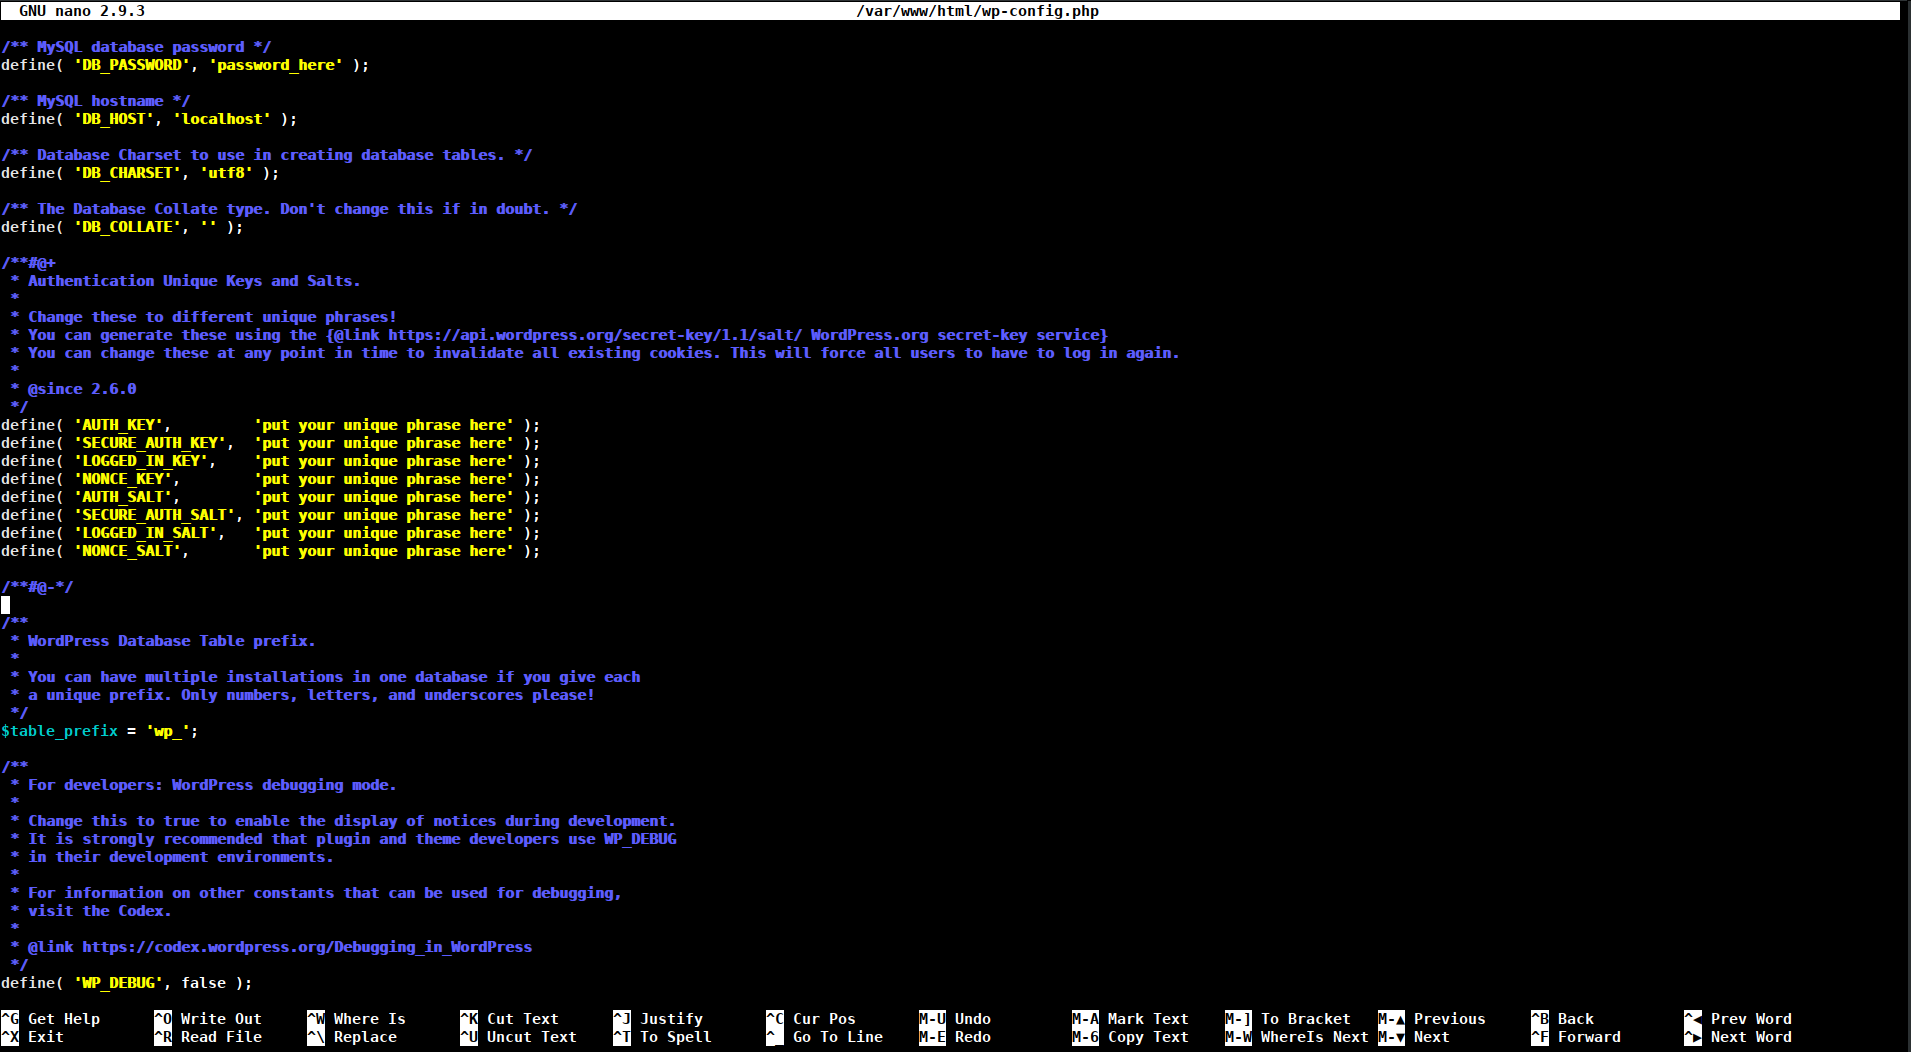
      Replace these lines with the recently generated codes.
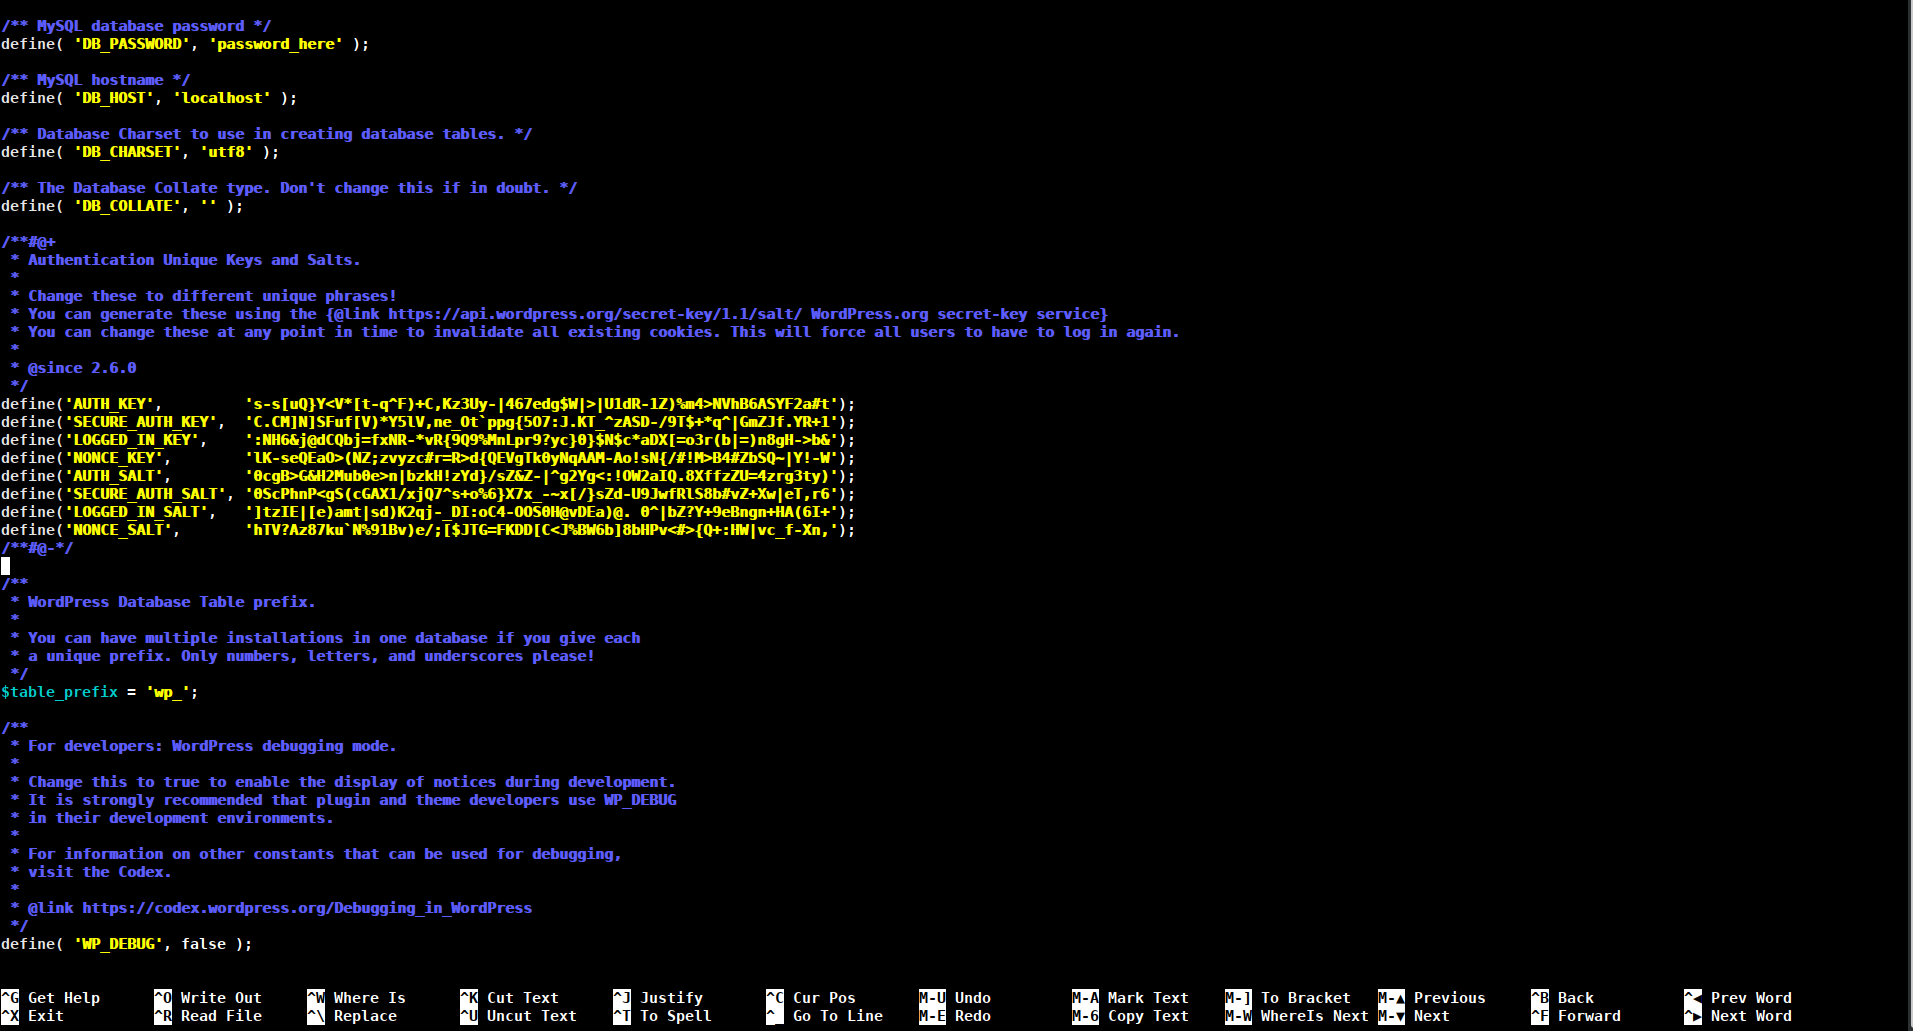
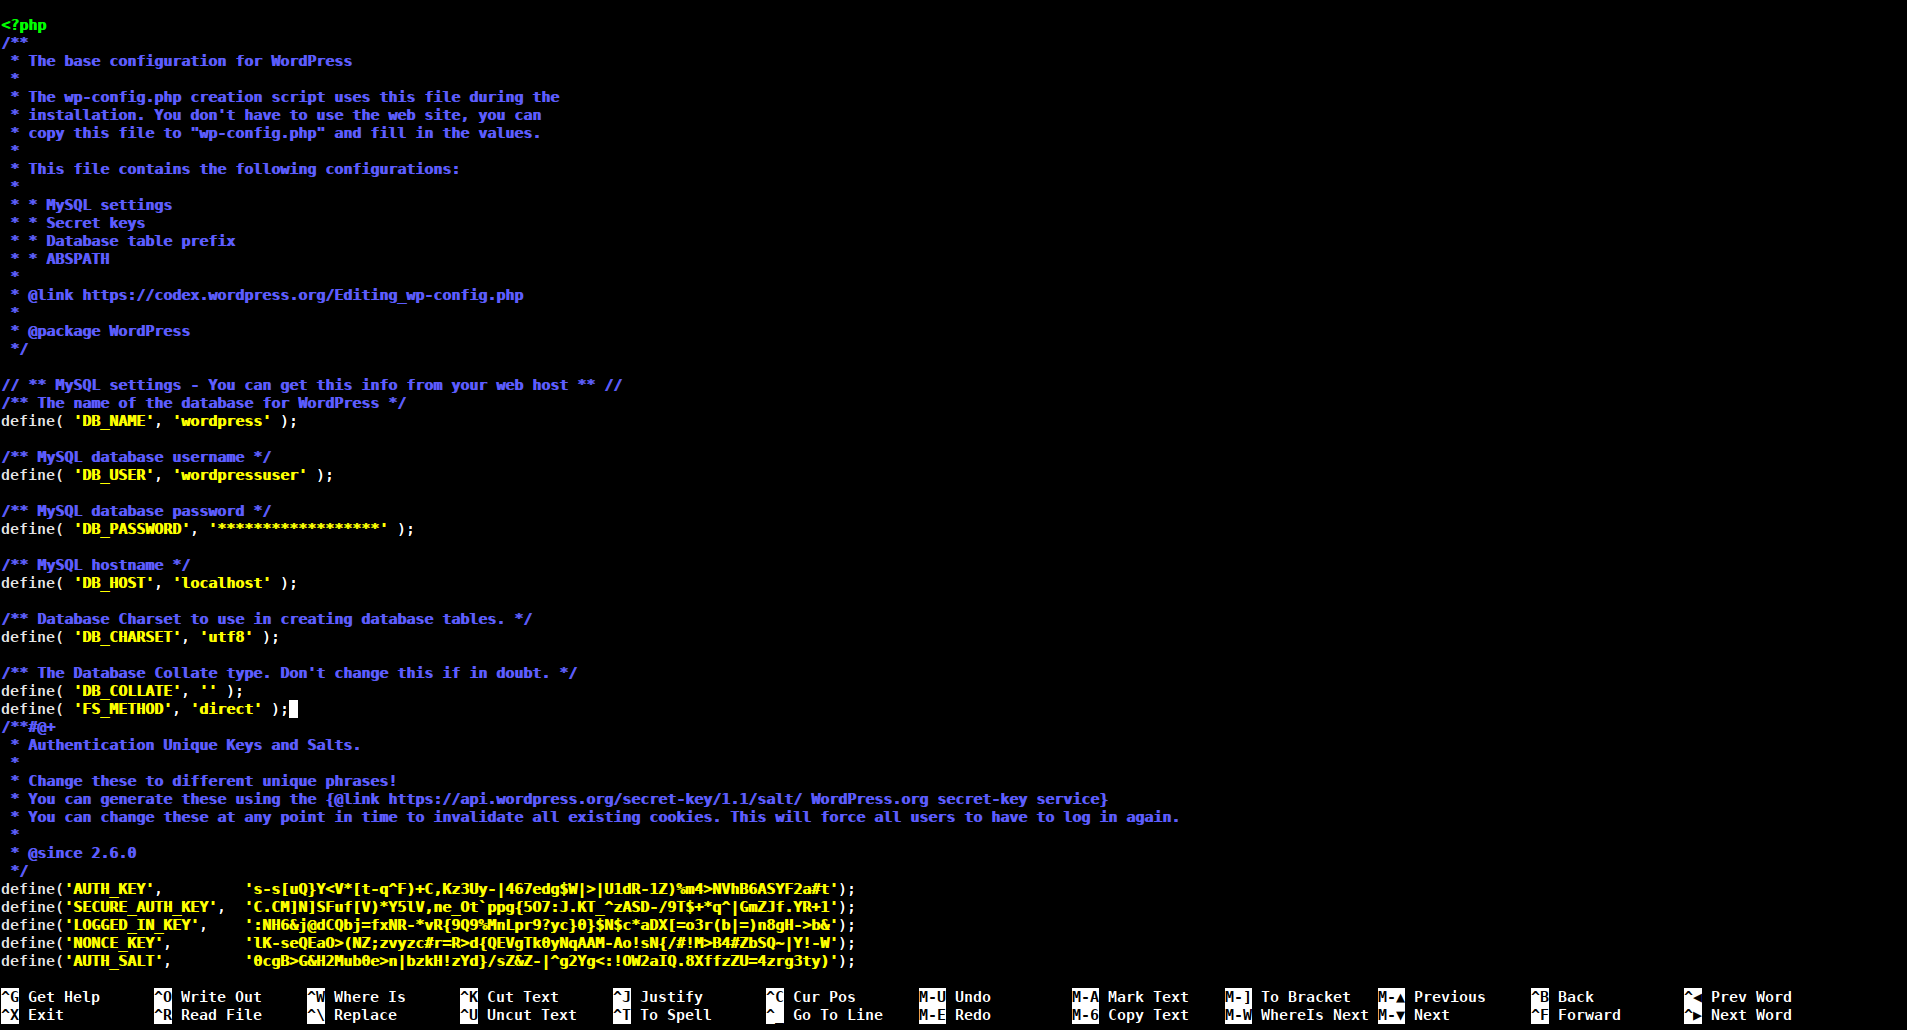
    • Next, we need to modify some of the database connection settings like, adjusting the database name, the database user, and the associated password that we configured within MySQL.
    • The other change we need to make is to set the method that WordPress should use to write to the filesystem. Since we’ve given the web server permission to write where it needs to, we can explicitly set the filesystem method to “direct”. Failure to set this with our current settings would result in WordPress prompting for FTP credentials when we perform some actions. This setting can be added below the database connection settings, or anywhere else in the file:
    • Save and close the file when you are finished.
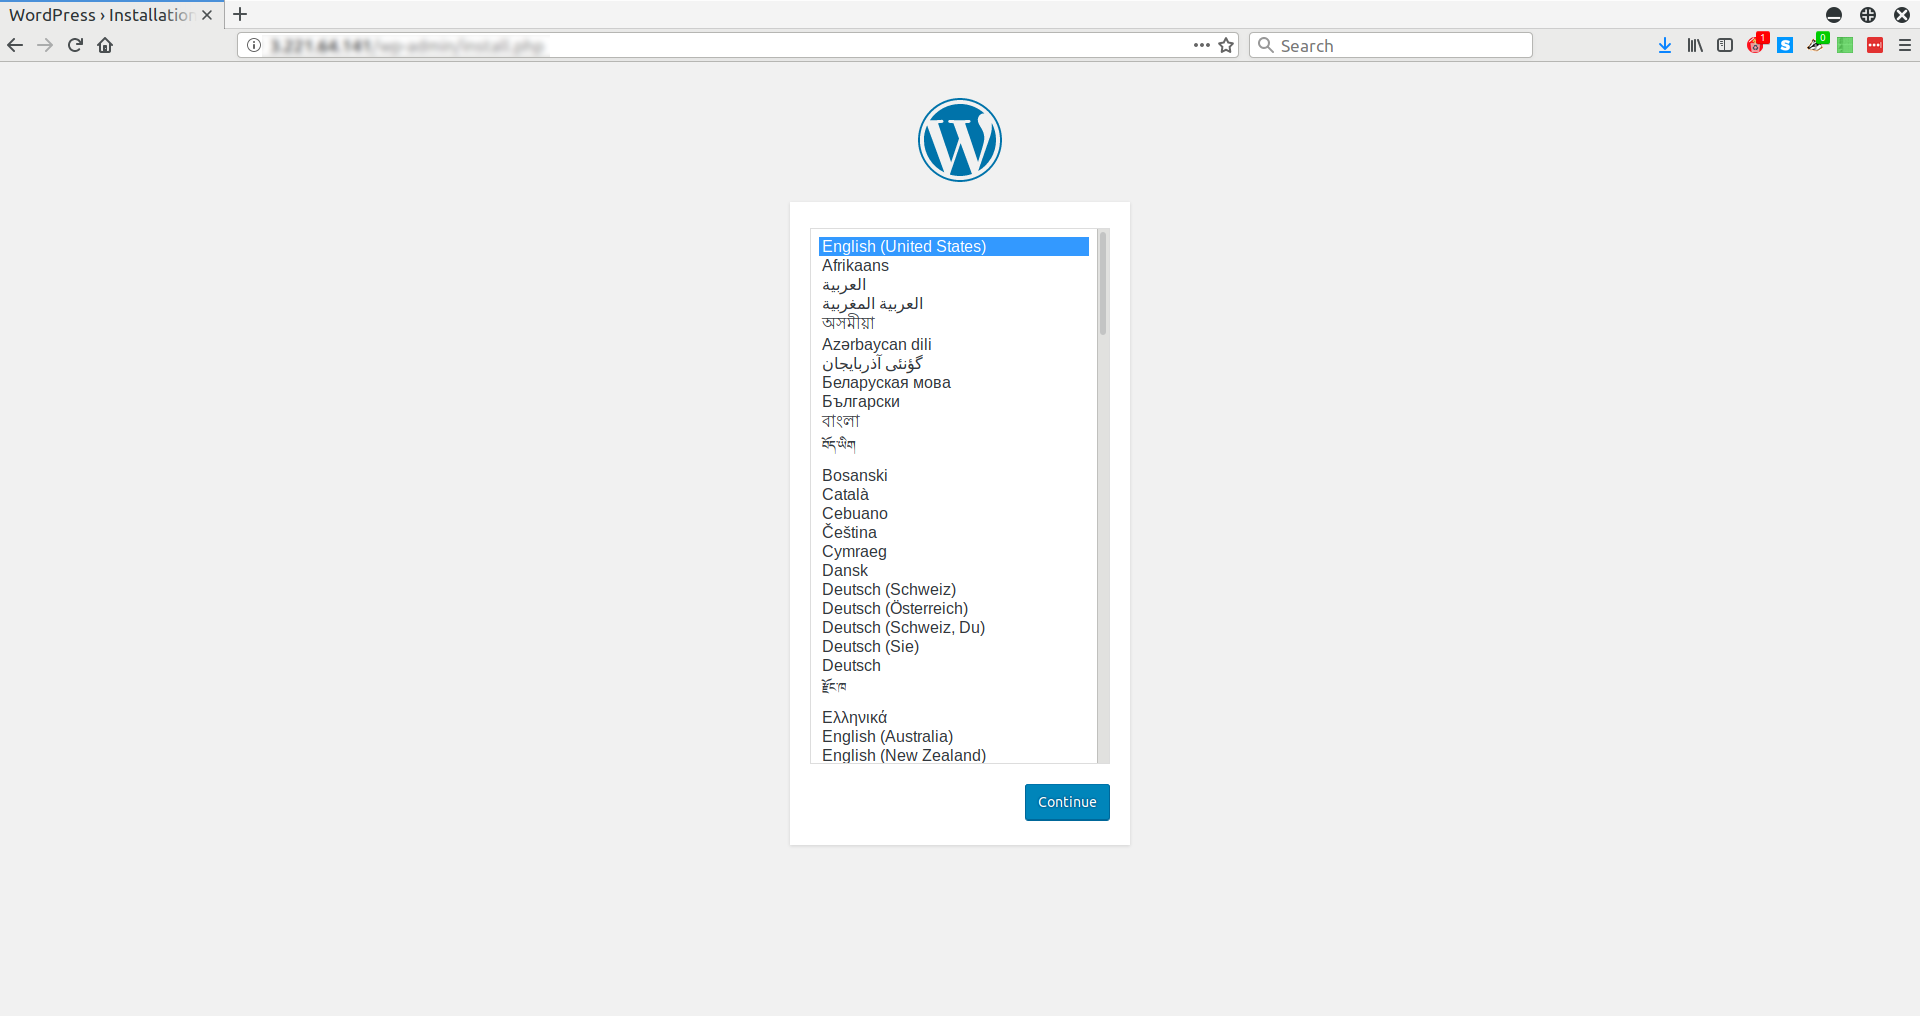
  • Now, we can hit our server-IP in the browser to complete the Installation through web interface:


And the wordpress installation is done.

Talk to AWS Certified Consultant

    Spread Love By Sharing:

    Let’s Talk About Your Needed AWS Infrastructure Management Services

    Have queries about your project idea or concept? Please drop in your project details to discuss with our AWS Global Cloud Infrastructure service specialists and consultants.

    • Swift Hiring and Onboarding
    • Experienced and Trained AWS Team
    • Quality Consulting and Programming
    Let’s Connect and Discuss Your Project