July 16, 2019 / Nirav Shah
EXTRACT We are going to share the steps to be performed to sort of compile and Install MySQL, PHP and Apache Web Server on Ubuntu Linux individually instead of using pre-set LAMP stacks.
In the Instance
Step 1:
We will gain ssh access into the Instance and start configuring the Instance for Installation. We are going to ssh into the Instance through command-line.
$ ssh -i private-key.pem ubuntu@ (ip-address)
And we are able to connect to the Instance.
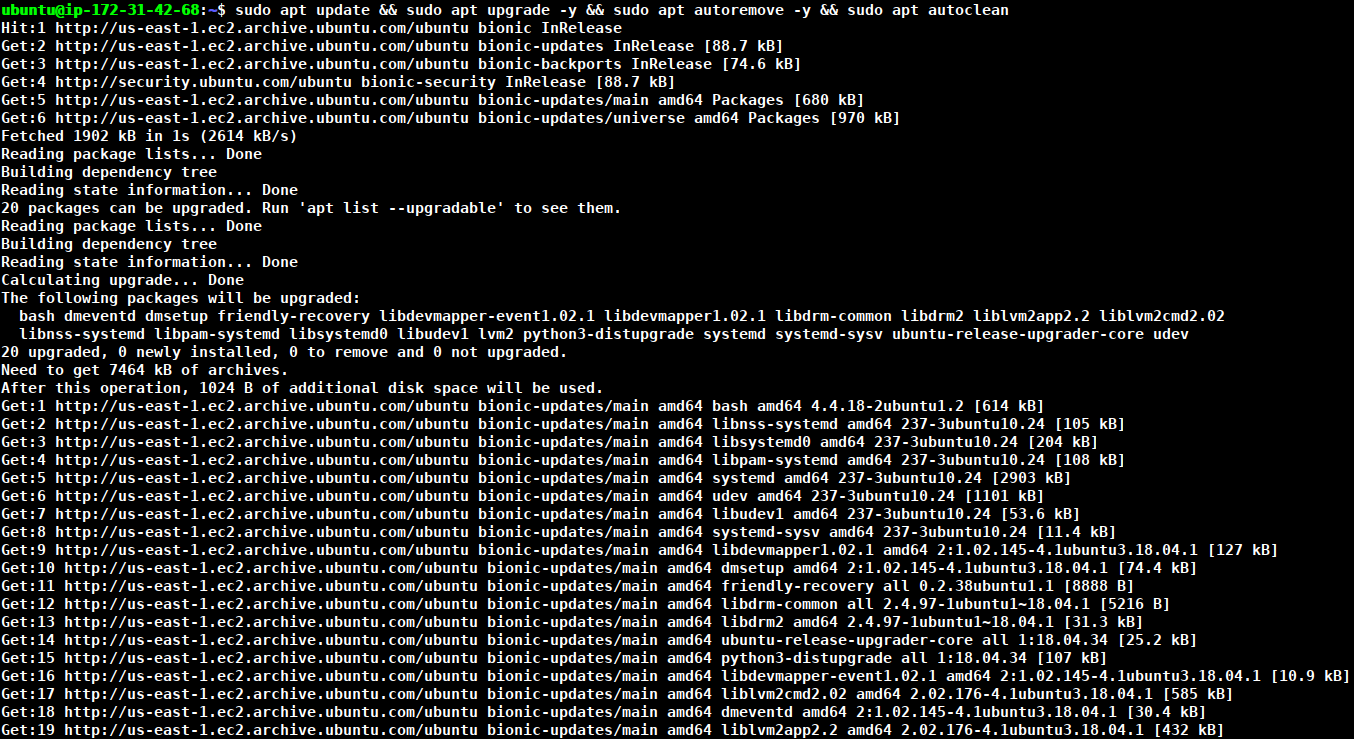
Now, the first thing we need to do is update the packages installed on the Instance as well as install some basic packages as per the requirements. First, we will update and clean the system by entering :-
$ sudo apt update && sudo apt upgrade -y && sudo apt autoremove -y && sudo apt autoclean
Step 2:
Now, we will setup a lamp environment by manually installing all the required components 1 by 1 instead of installing the lamp stack packages as a whole. We will do this to be able to update the latest stable versions of different packages instead of feeling limited by the versions provided by lamp stack packages. This will also result in it becoming easier to update your lamp environment in the future instead of waiting for the lamp stack package maintainers to compile and provide the updated versions.
Step 3:
We will start by installing apache web server at first :-
$ sudo apt-get install apache2
And press enter and then press “y”
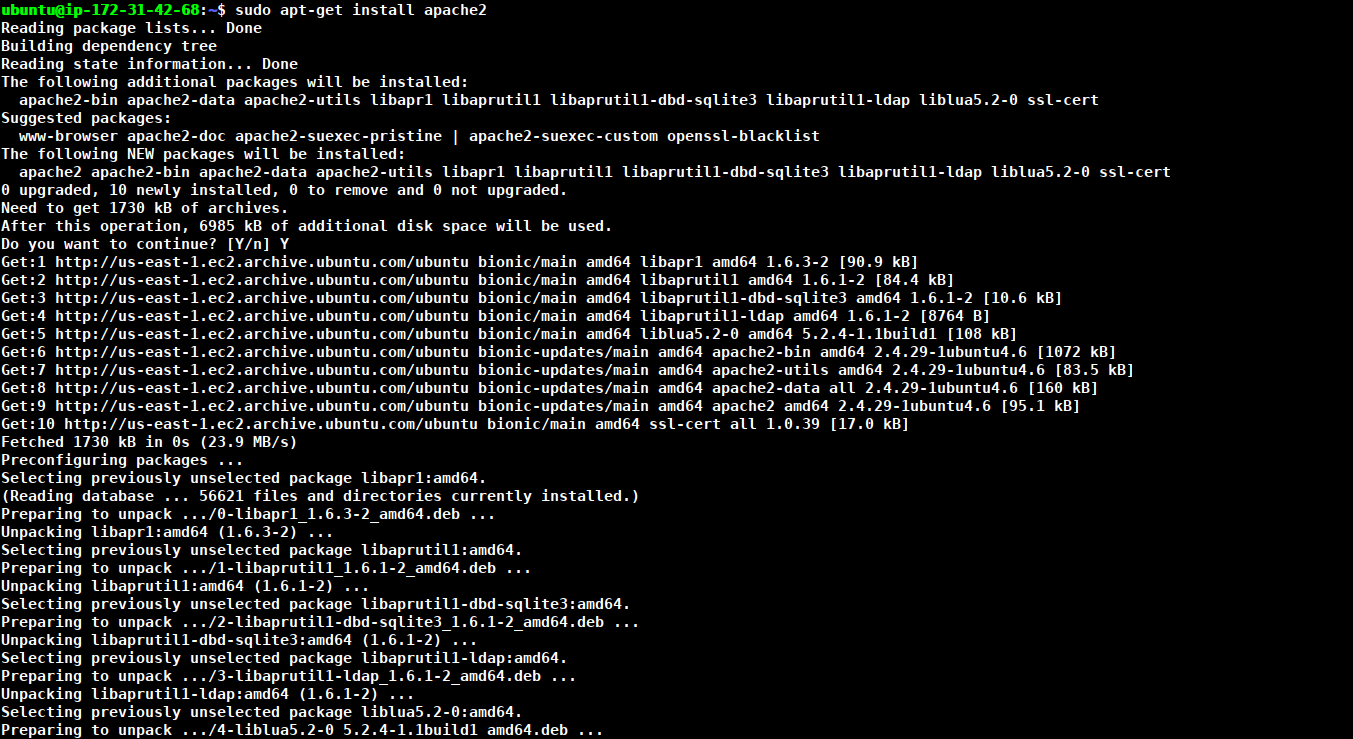
Now, apache has been installed.
Step 4:
Now, we will install php and its dependency packages :-
At the time of writing, php-7.3 is the latest and stable version and so it will be installed.
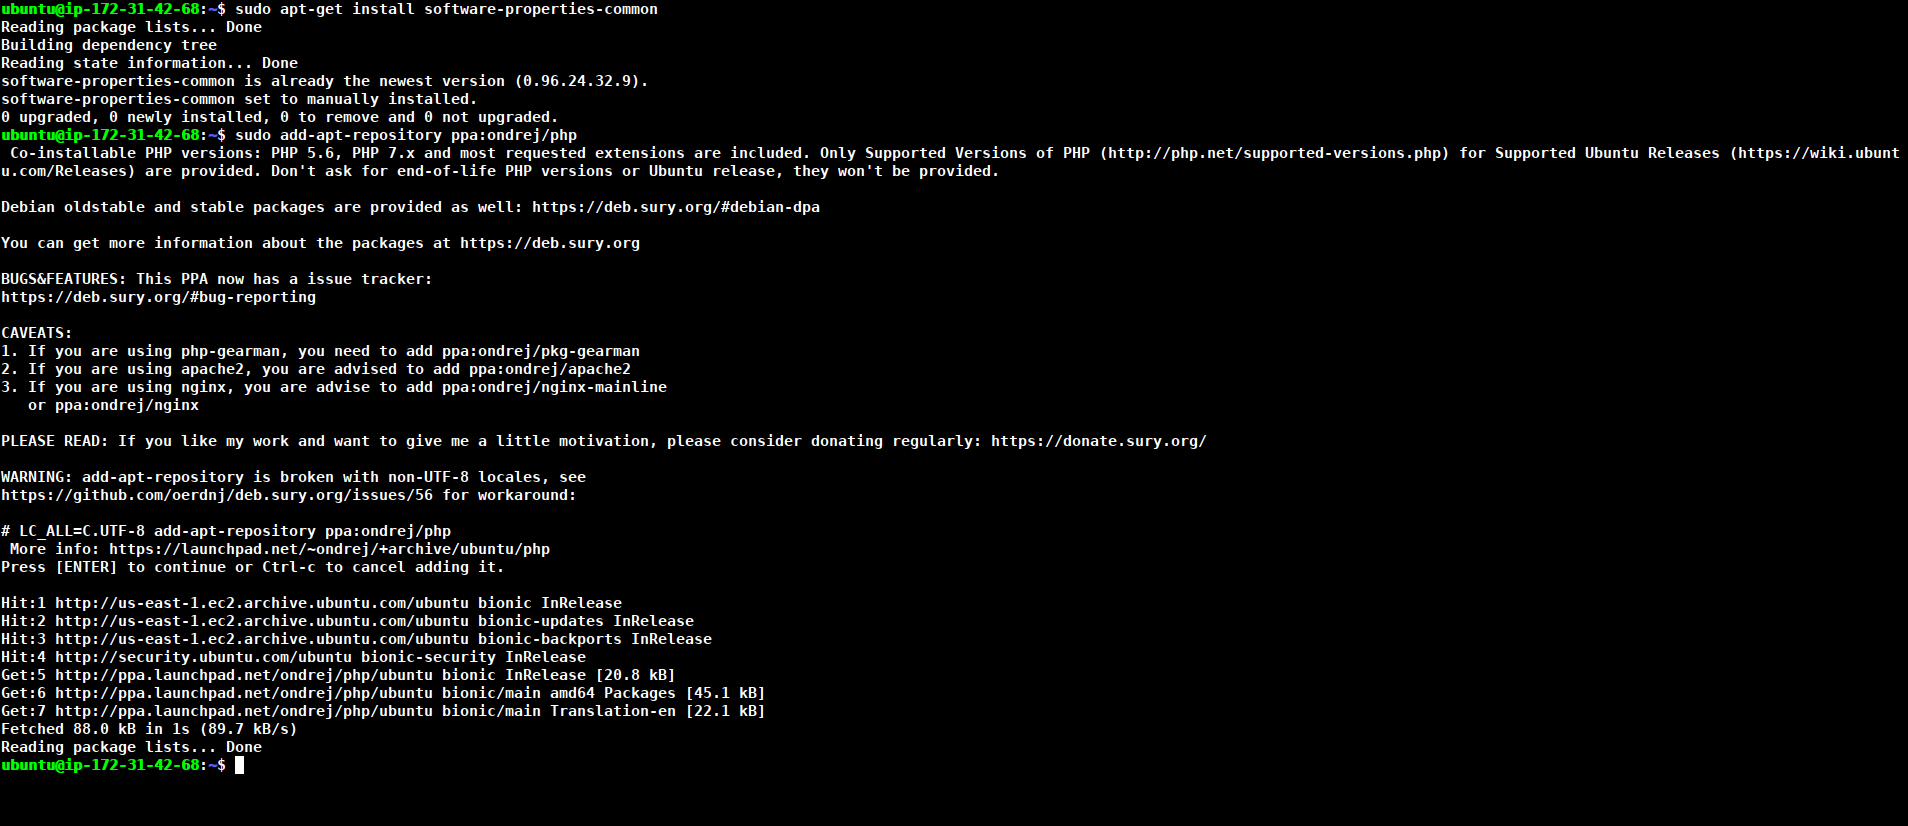
$ sudo apt-get install software-properties-common
$ sudo add-apt-repository ppa:ondrej/php
$ sudo apt-get update

$ sudo apt-get install php7.3 libapache2-mod-php7.3 php7.3-cli php7.3-mysql php7.3-gd php7.3-imagick php7.3-recode php7.3-tidy php7.3-xmlrpc php7.3-common php7.3-curl php7.3-mbstring php7.3-xml php7.3-bcmath php7.3-bz2 php7.3-intl php7.3-json php7.3-readline php7.3-zip

Now, php has been installed with its dependencies.
We will need to restart apache service for this multiple packages to reflect in the server.
$ sudo systemctl restart apache2
Step 5:
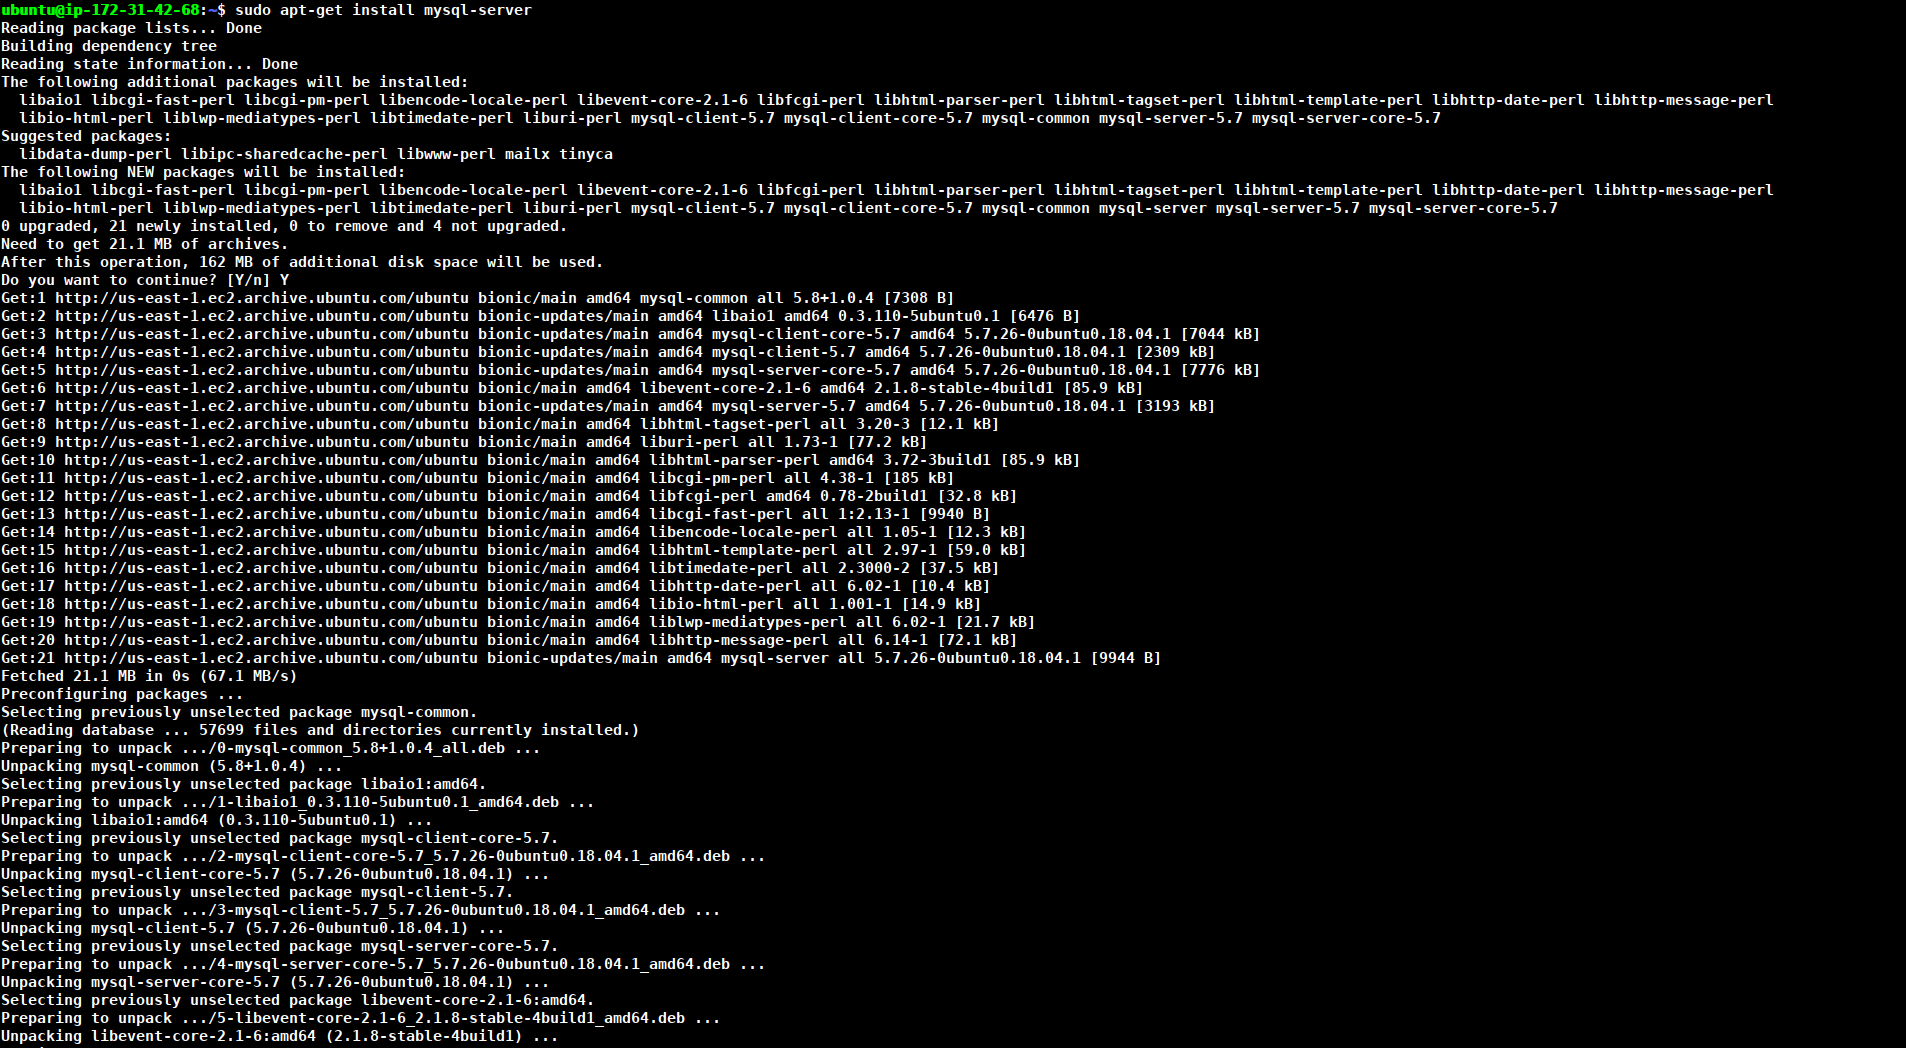
Now, we will install and setup mysql server on the instance to handle backend database requests that will be sent to the server.
MySQL is a database management system. Basically, it will organize and provide access to databases where our site can store information.
$ sudo apt-get install mysql-server
When the installation is complete, we want to run a simple security script that will remove some dangerous defaults and lock down access to our database system a little bit. Start the interactive script by running:
$ mysql_secure_instrallation
You will be asked if you want to configure the VALIDATE PASSWORD PLUGIN. Answer y for yes;
We will choose 1 to strike a balance between security and complexity.
Type in your random password which should contain; numeric, mixed case, and special characters

For the rest of the questions, you should press Y and hit the Enter key at each prompt. This will remove some anonymous users and the test databases, disable remote root logins, and load these new rules so that MySQL immediately respects the changes we have made.
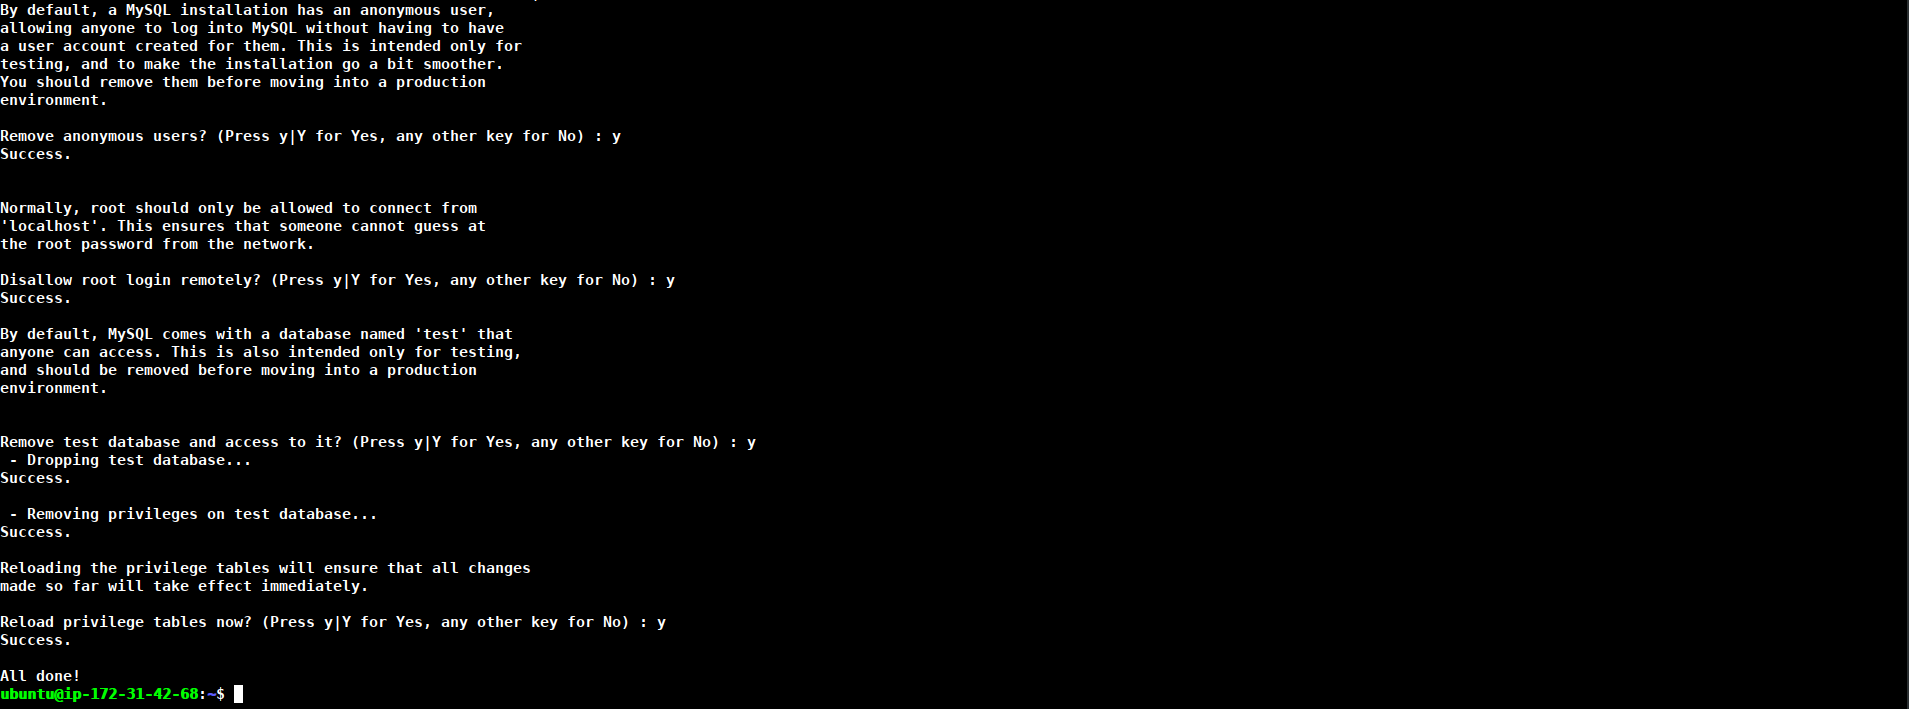
At this point, your database system is now setup.
We need to flush the privileges so that the current instance of MySQL knows about the recent changes we’ve made:
mysql> FLUSH PRIVILEGES;
mysql> EXIT;
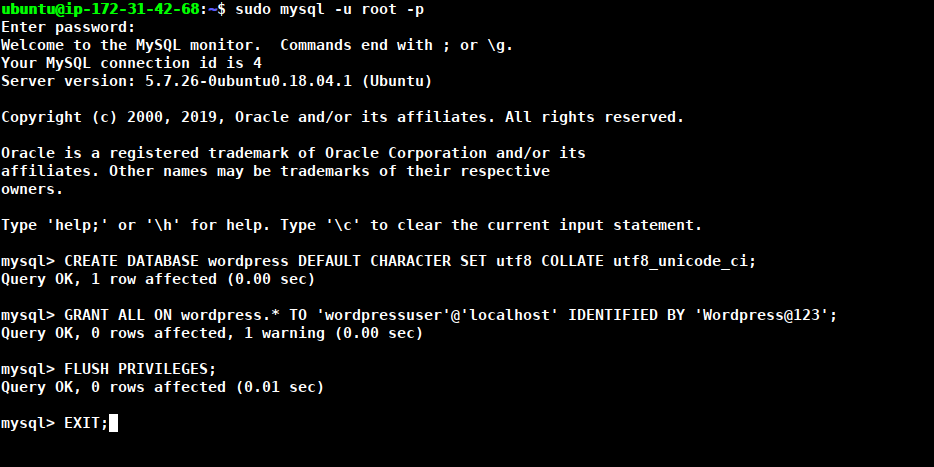
Your base setup with Linux, Apache, MySQL, PHP is now ready.
Also Read: Run Command Remotely on EC2 instance

As a Director of Eternal Web Private Ltd an AWS consulting partner company, Nirav is responsible for its operations. AWS, cloud-computing and digital transformation are some of his favorite topics to talk about. His key focus is to help enterprises adopt technology, to solve their business problem with the right cloud solutions.
Have queries about your project idea or concept? Please drop in your project details to discuss with our AWS Global Cloud Infrastructure service specialists and consultants.