August 23, 2019 / Nirav Shah
s3fs is a FUSE filesystem that enables you to mount an Amazon S3 pail as a nearby filesystem. It stores documents locally and straightforwardly in S3 (i.e., you can utilize different projects to get to similar records). The most extreme size of articles that s3fs can deal with relies upon Amazon S3. For instance, up to 5 GB when utilizing single PUT API. What’s more, up to 5 TB is supported when Multipart Upload API is utilized.
Important Note.
Your kernel must support FUSE, kernels earlier than 2.6.18-164 may not have FUSE support. Virtual Private Servers (VPS) may not have FUSE support compiled into their kernels.
Step 1
Log In to your AWS Account.

You can log in to your AWS Account by your E-Mail Id & Password after registrating in the AWS(Amazon Web Service).

Step 2
Launch ubuntu server
Launch instance in AWS is very simple just need to follow the given steps under.
Find Service drop down menu which is located on the right side on the AWS logo in the main dashborad.

Click on EC2 under compute section.

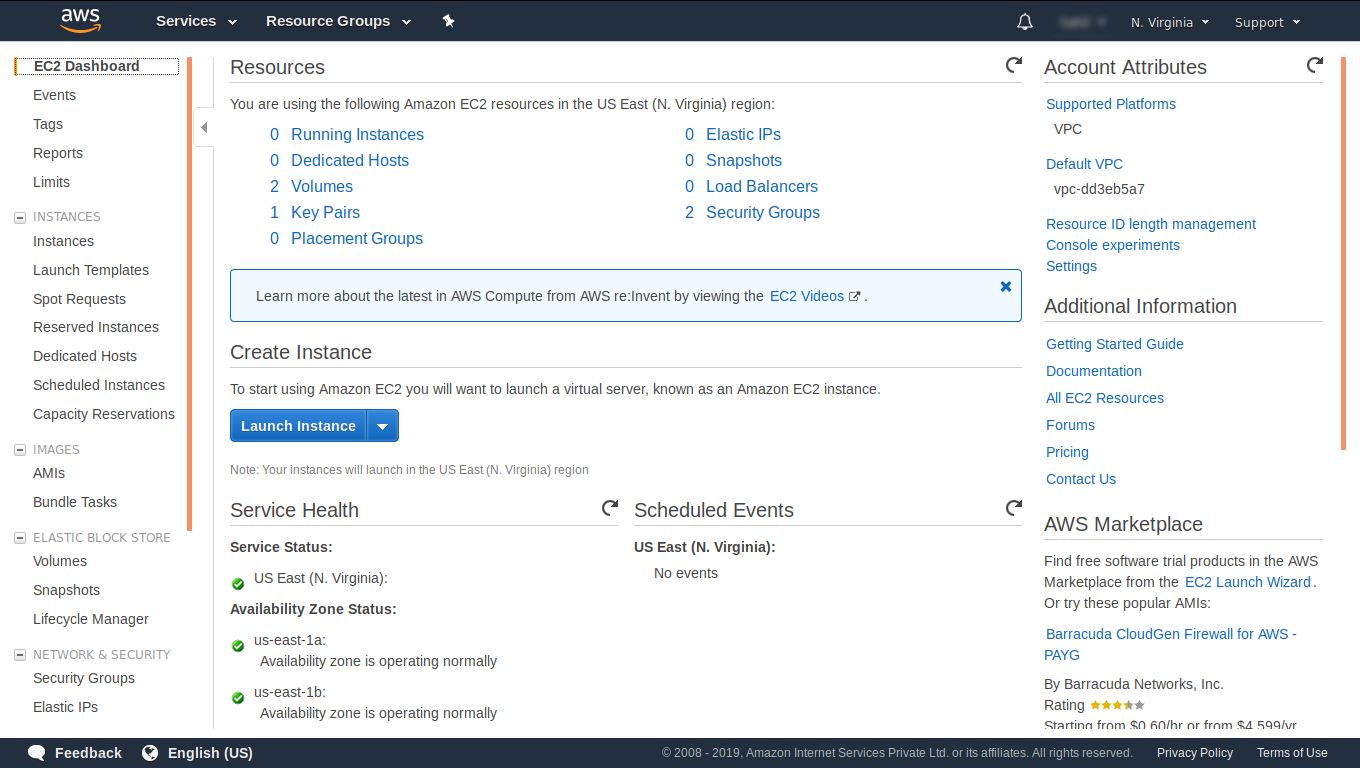
Select Launch instance which is present in create instance tag Note (Please Verify that you are under the region which is closer to you).
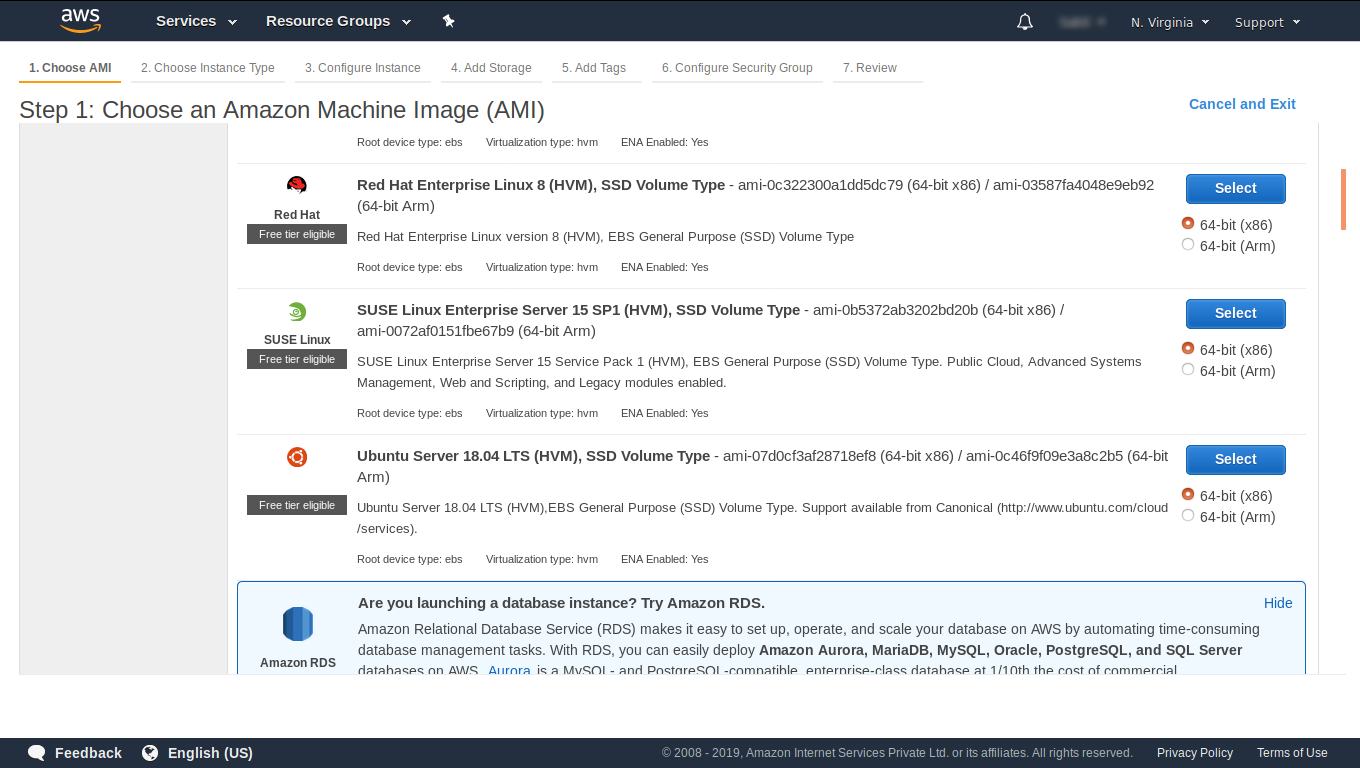
There are more than 400 type of instance avalible in AWS Select Ubuntu Server 18.04(This is the latest version of ubuntu systems).
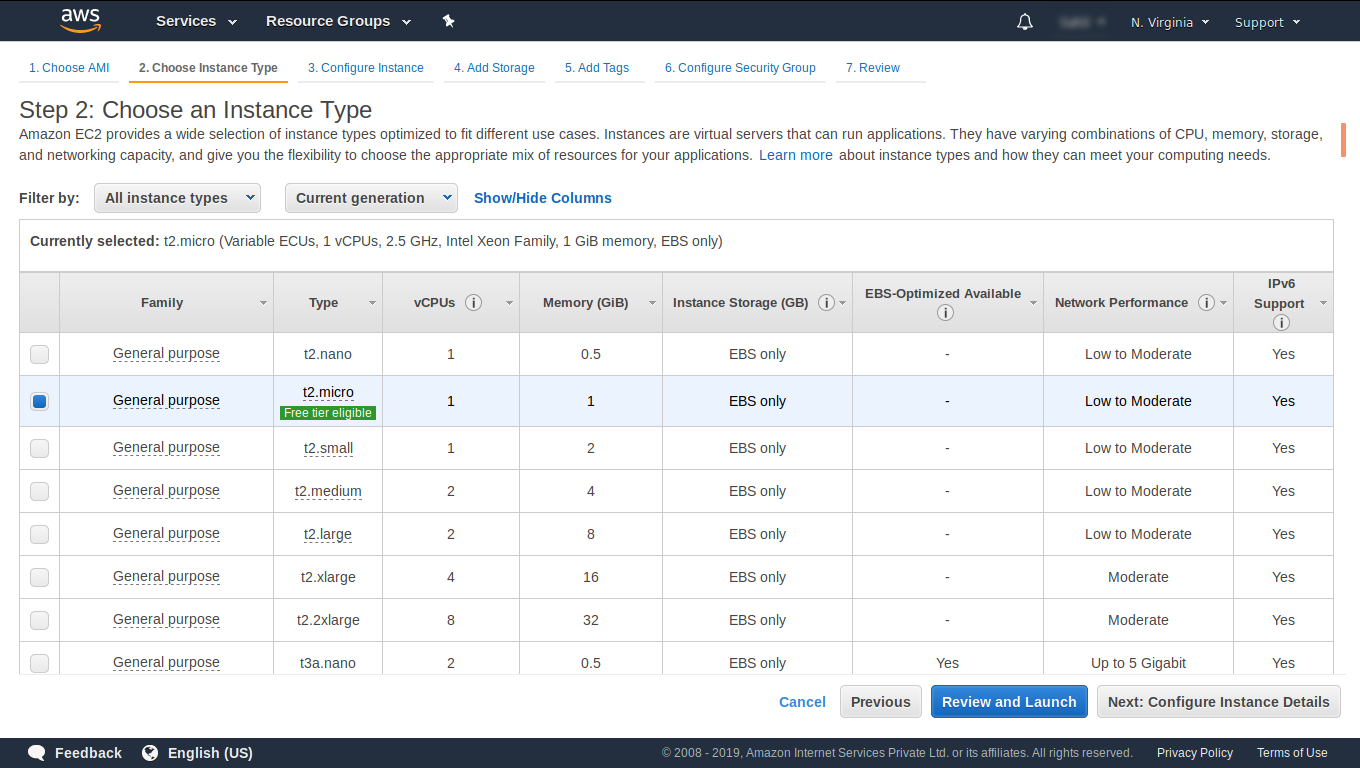
Choose the type of instance you want to build virtually.
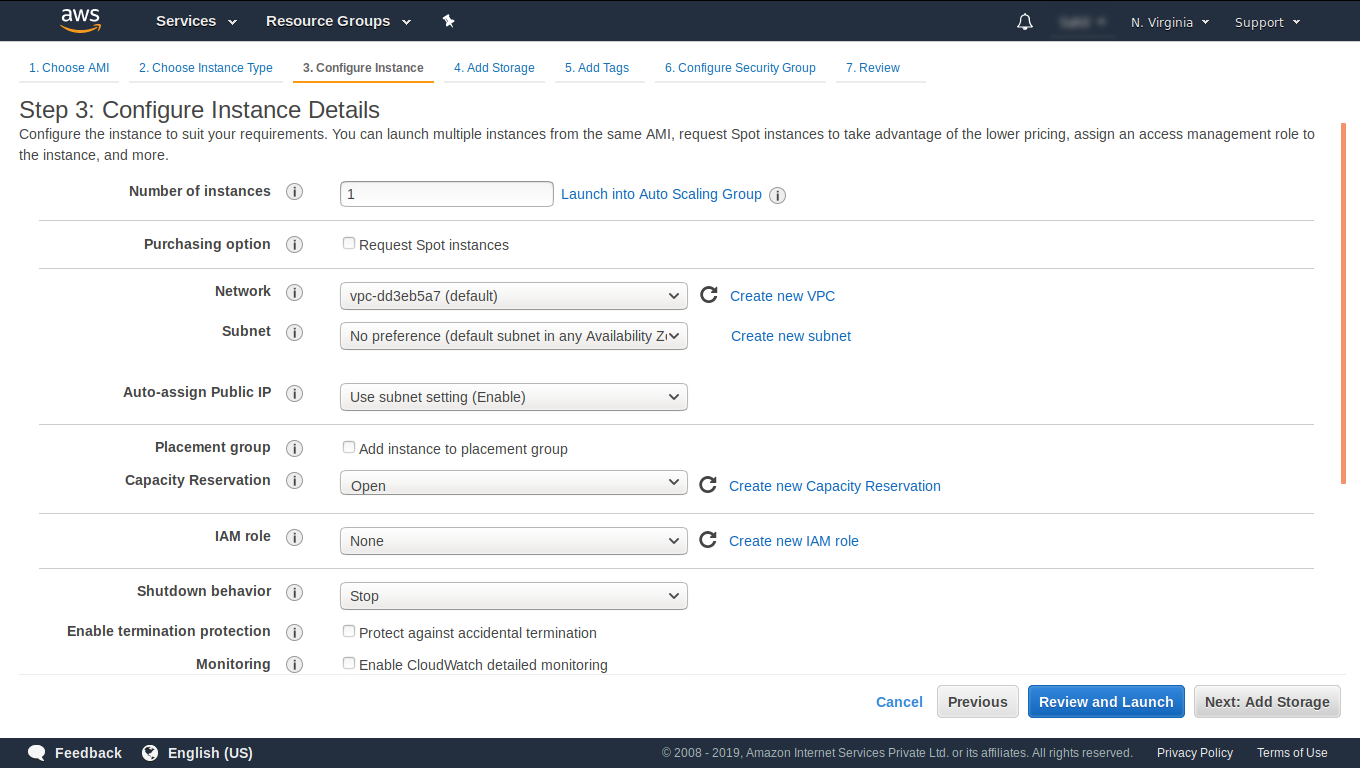
Configure Instance Details(Field you need to check are as under).
Number of instances(i.e. the number of instance you want to Launch with the same configration by default this number is 1).
Network (i.e. under which network policy are you in. In AWS this is called VPC (Virtual Private Cloud) you can change it or can keep it as default).
Subnet (i.e. this is the availability zone where you want your to Launch your instance).
IAM Role (i.e. the role given to a specific person/group to manage a services).
Add Storage (i.e. to add a extra storage capacity to your instance).
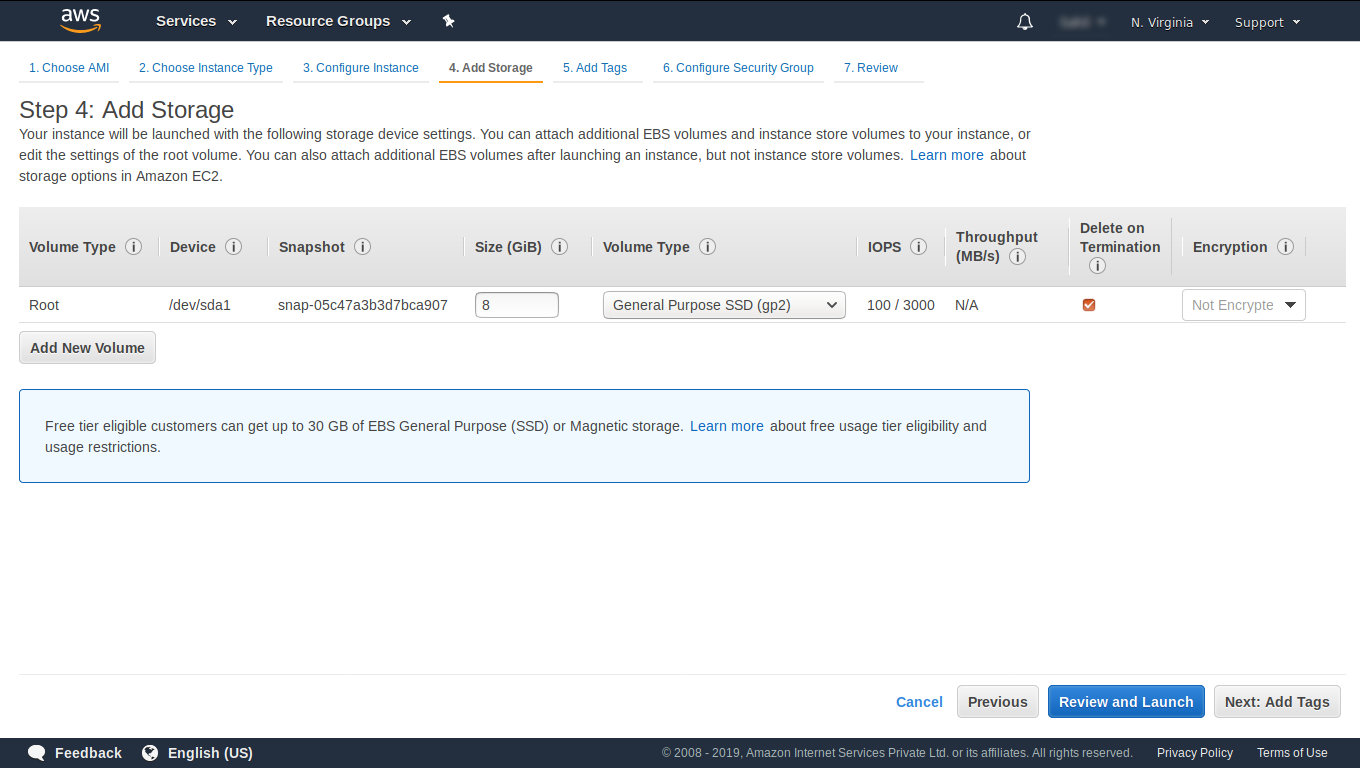
Add Tags (i.e. for giving the name to your instance basically for your knowledge).
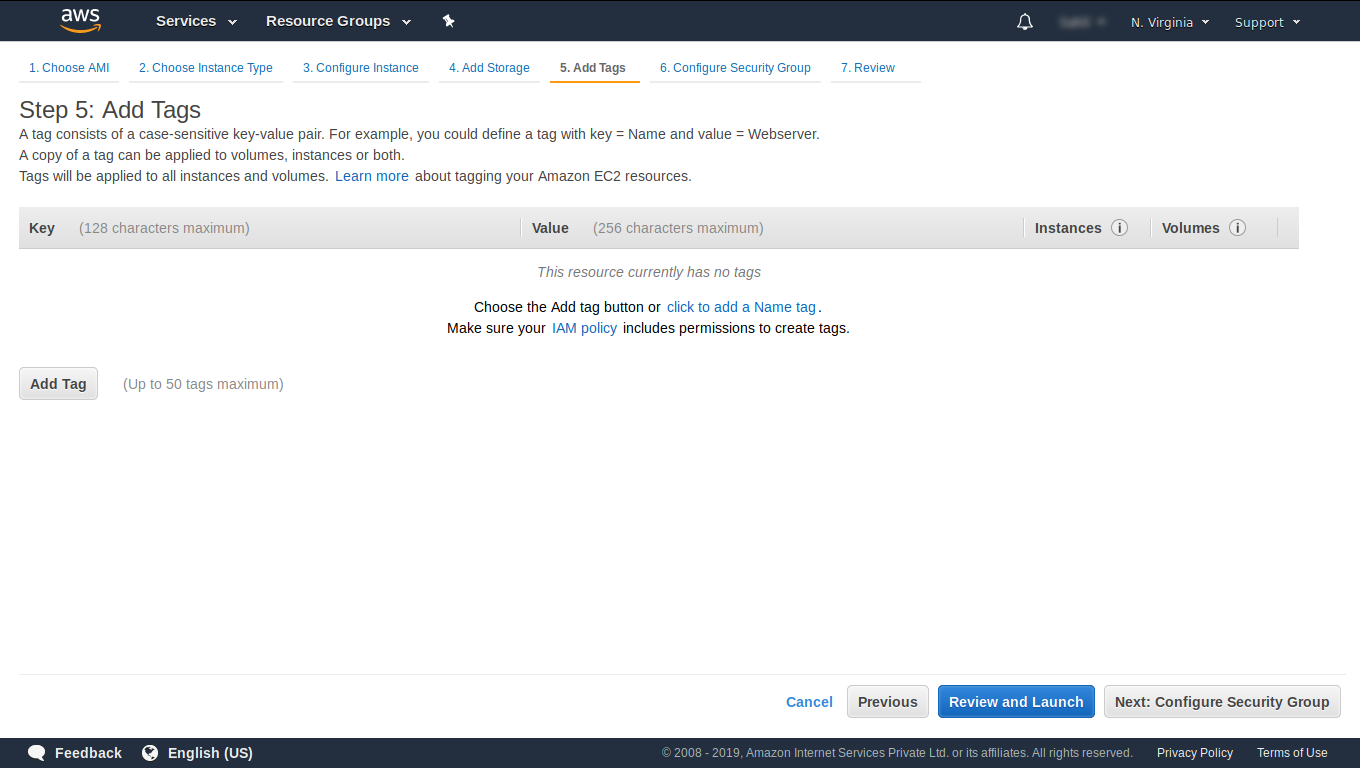
Configure Security Group (i.e. which ports should be allowed to the instance are stated under this service).
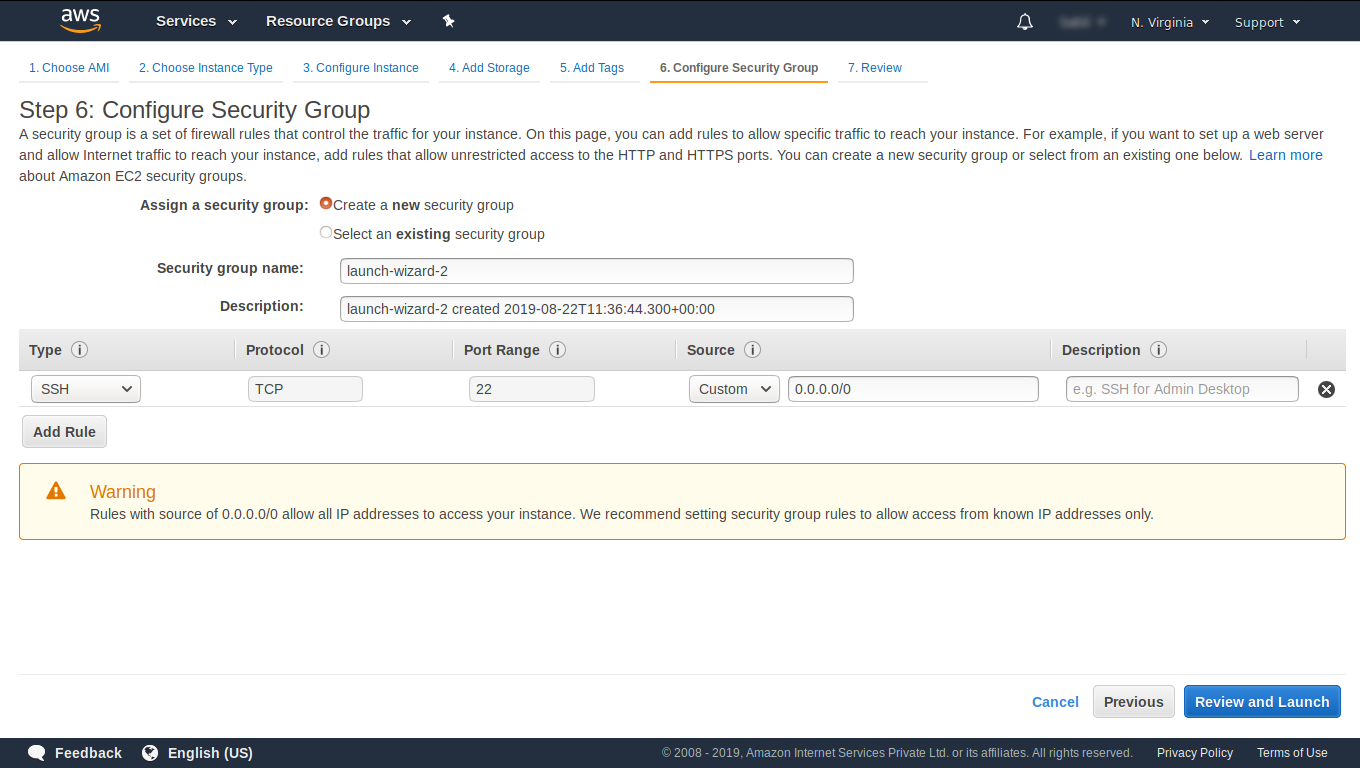
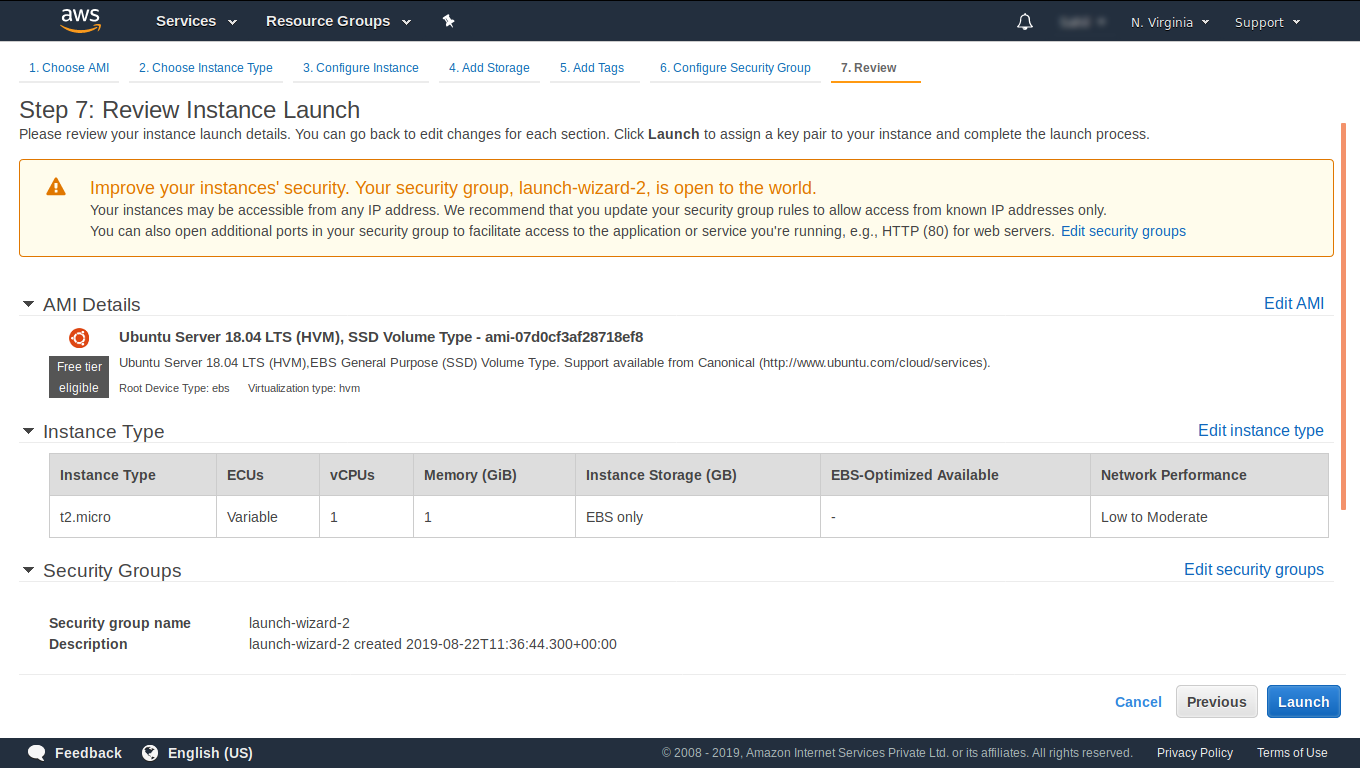
Click On Review And Launch (verify all the details of the instance).

Launch the instance (Your instance is ready to use).
You will get a key to connect your server.
Step 3
Create a S3 Bucket
You can find S3 service under the storage catagory in the service drop down menu.
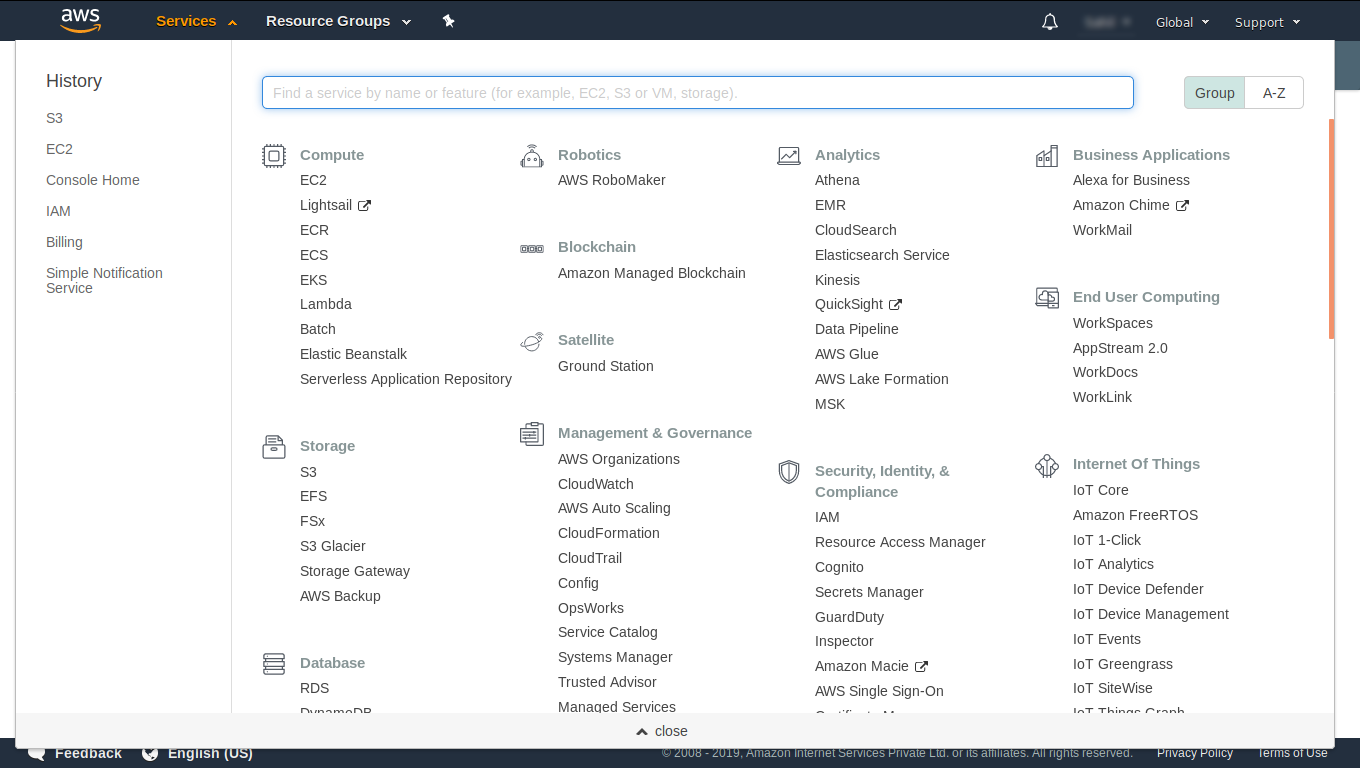
Click on create bucket.
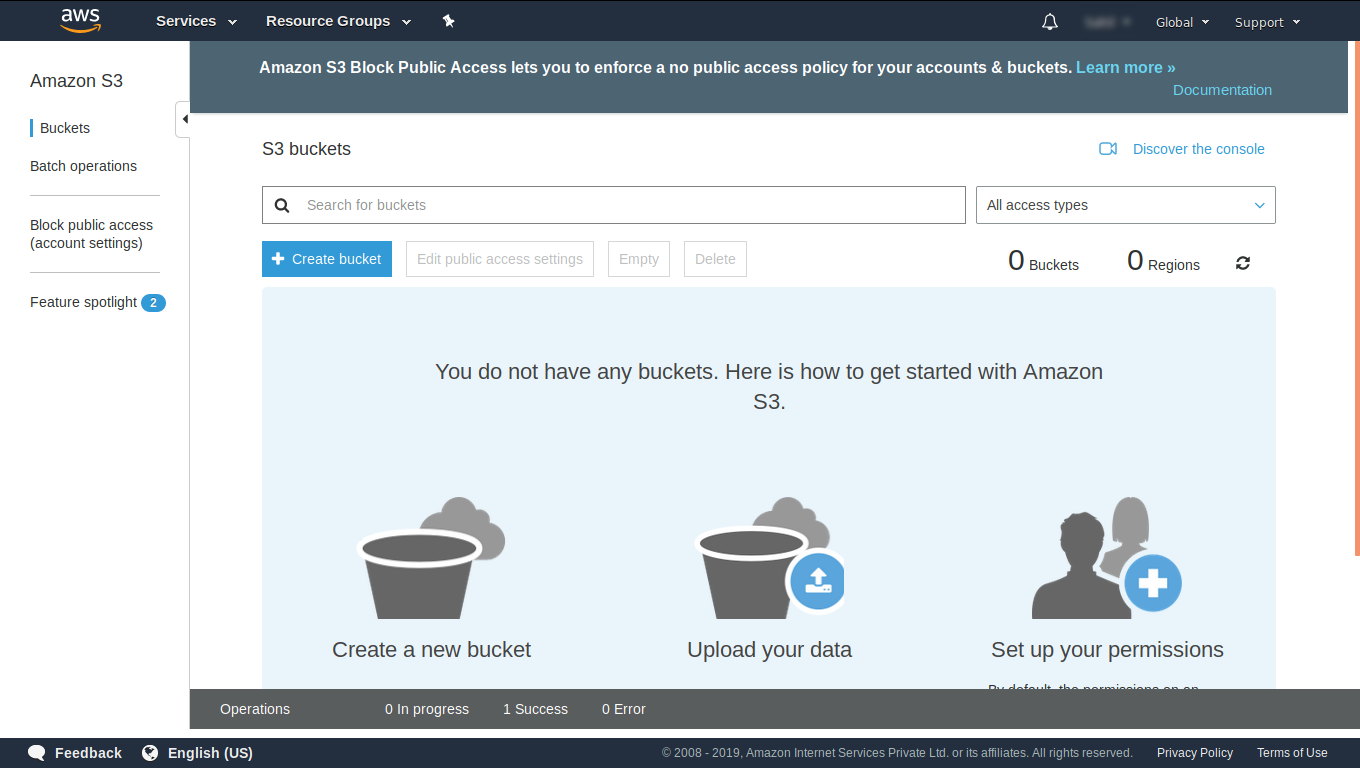
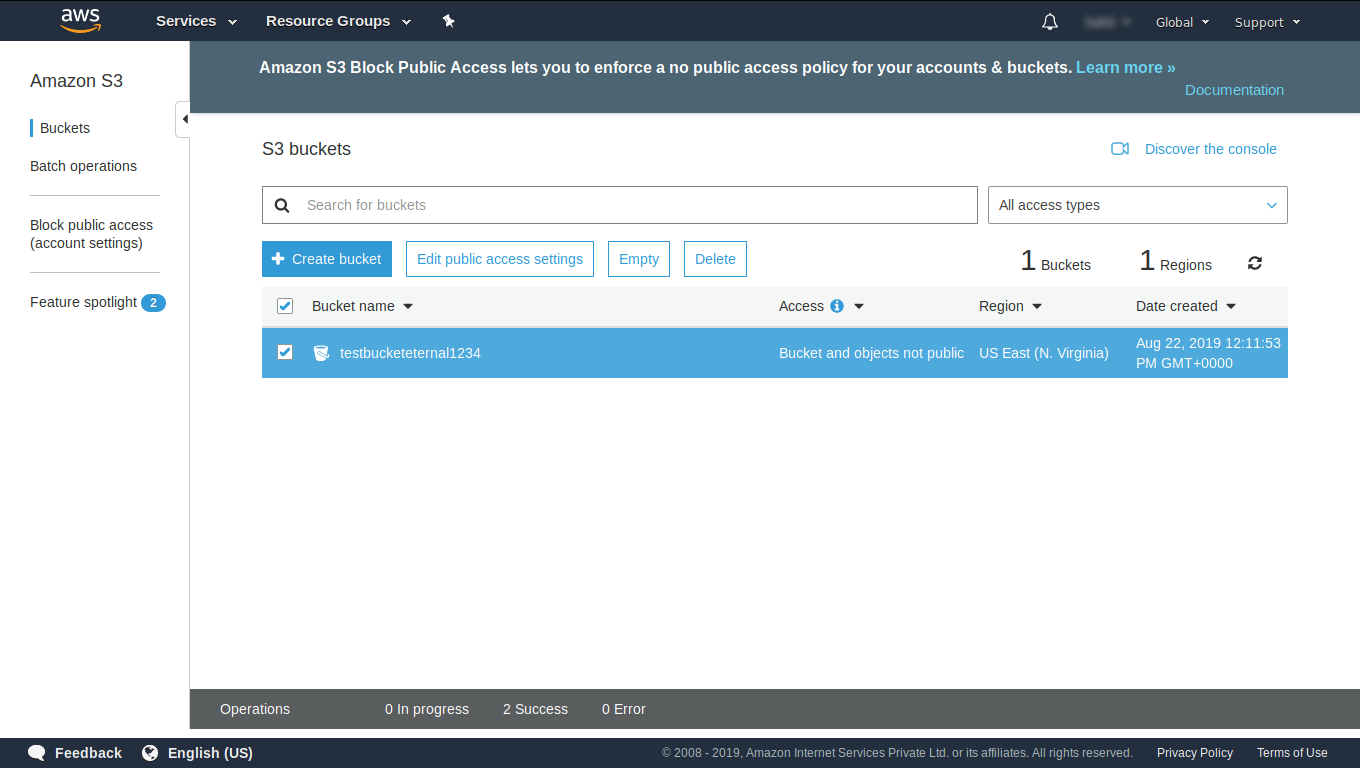
Name the bucket as you want (In my case i have named my bucket testbucketeternal1234).
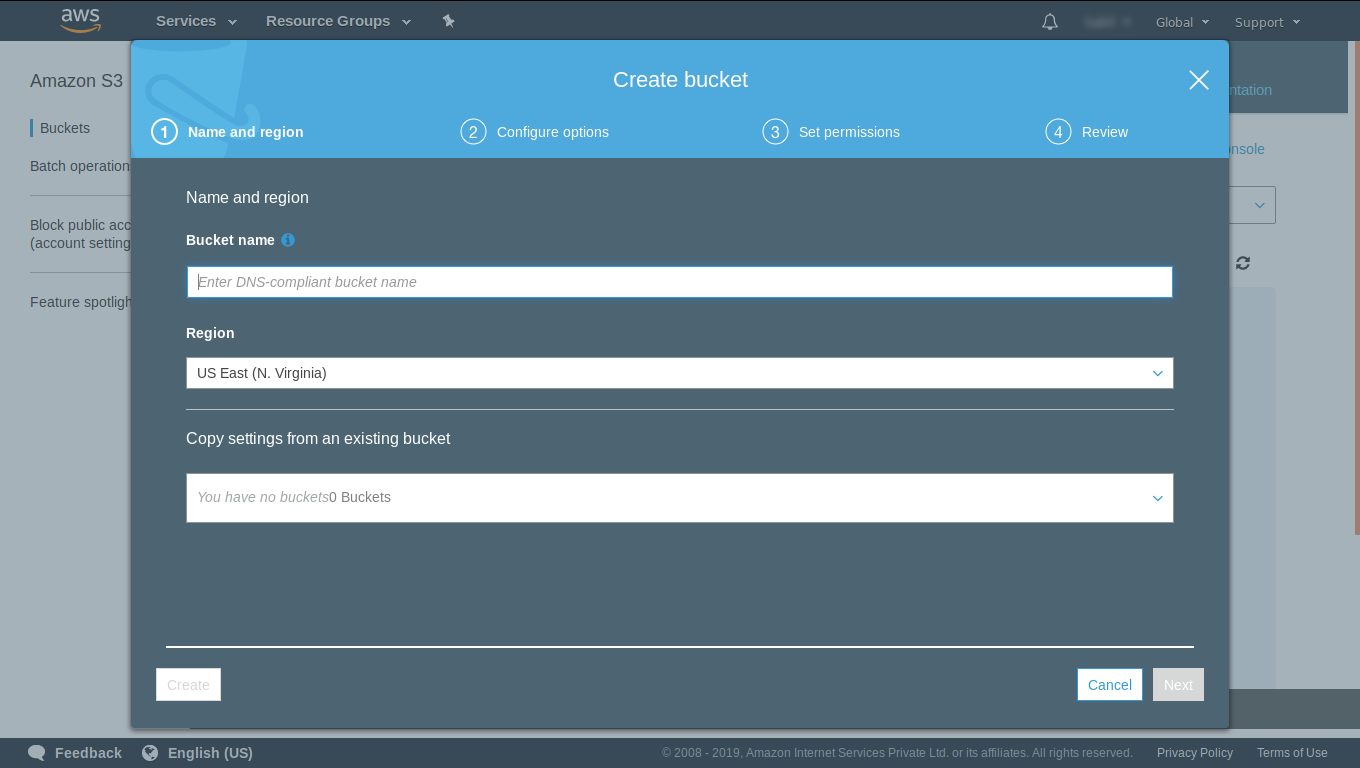
Click on create button and this will create the bucket.
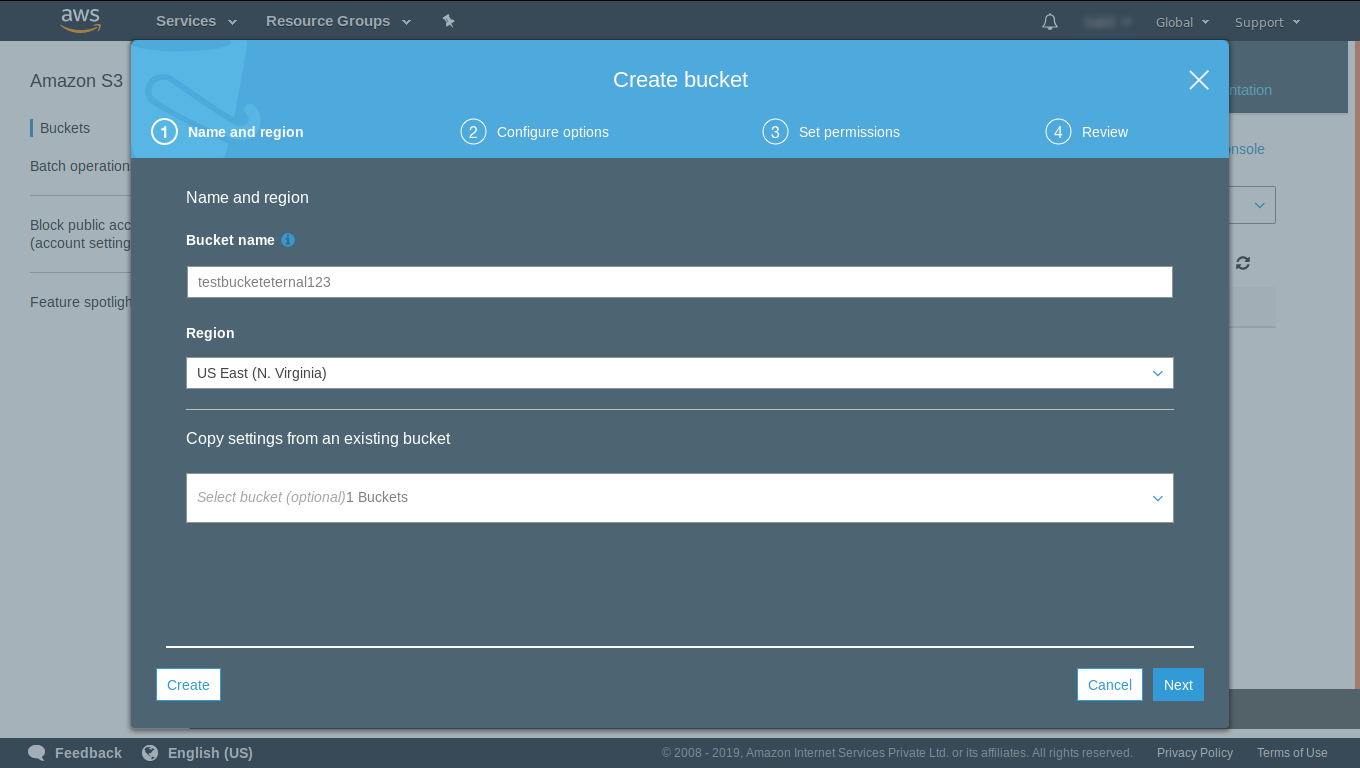
Upload 1 file in the S3 Bucket.
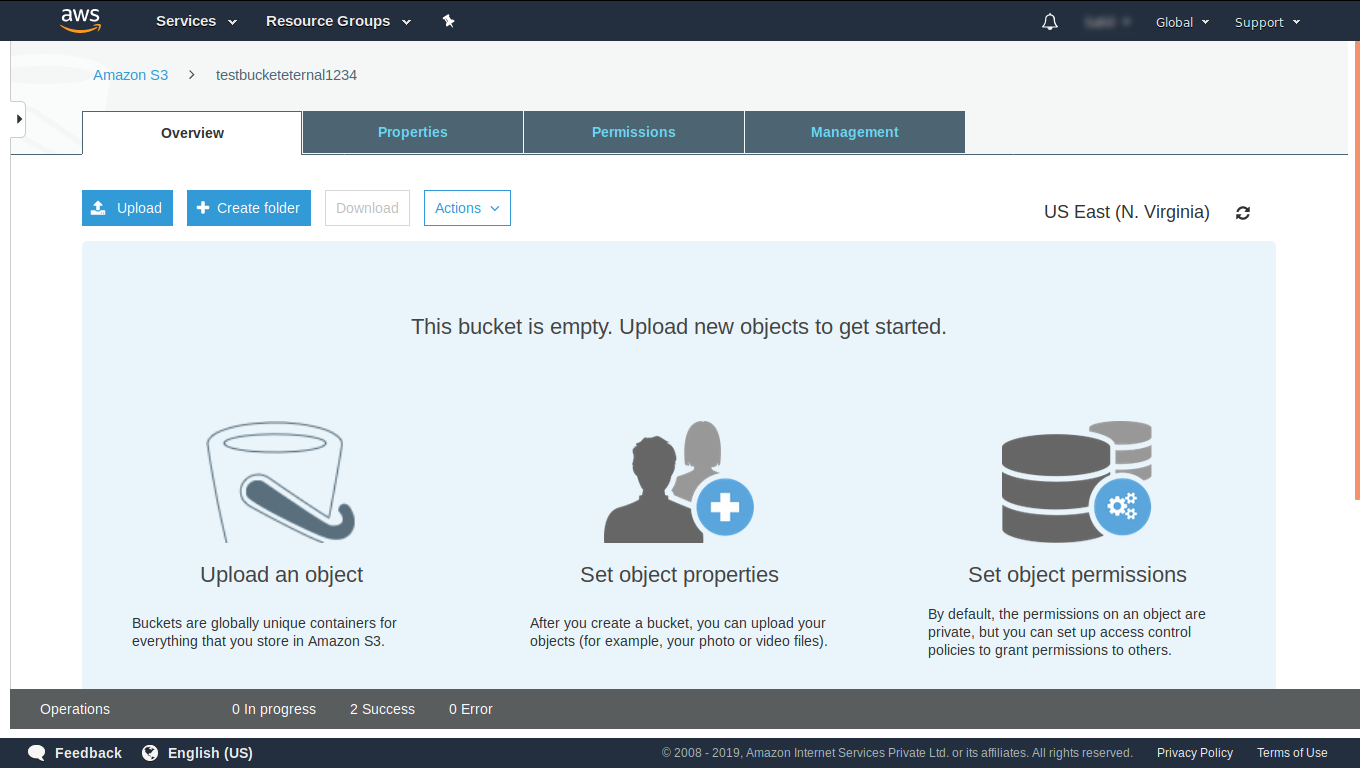
Click on upload by going inside the bucket.
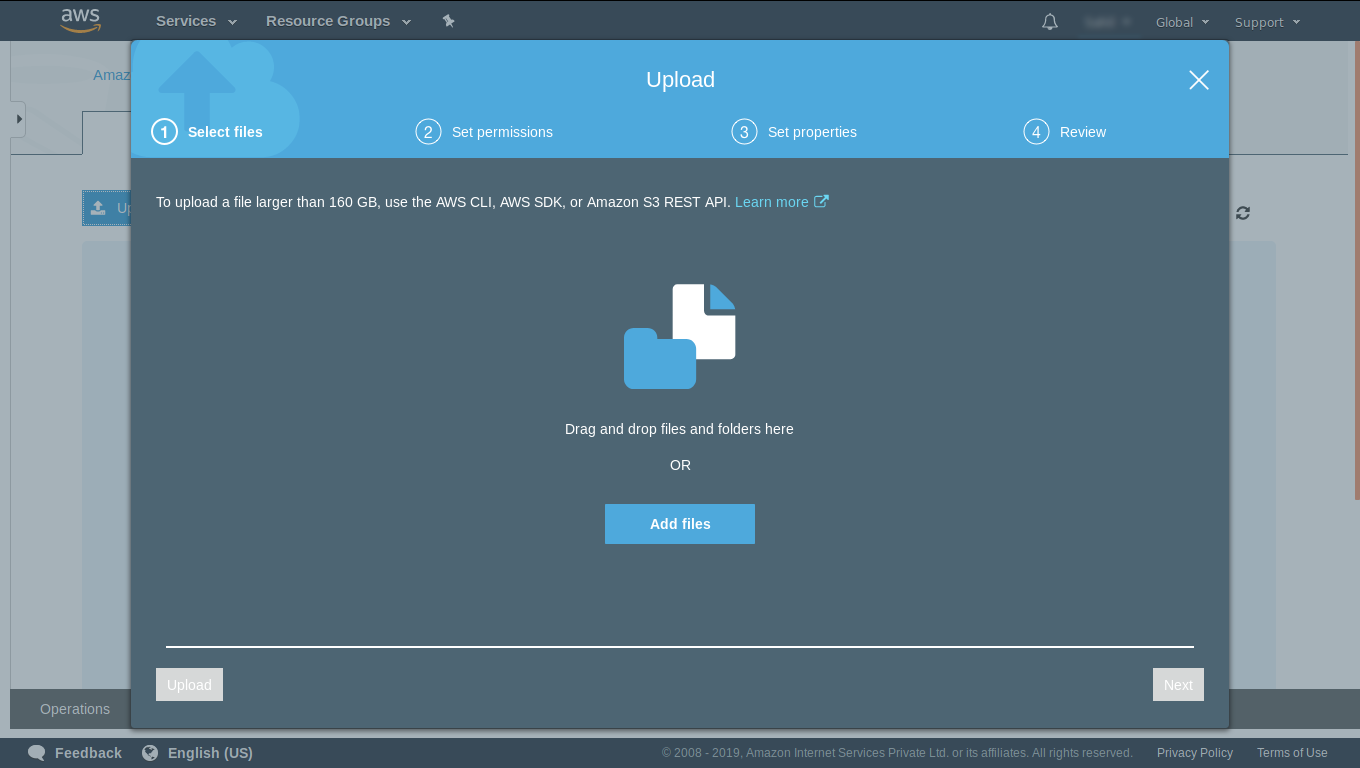
A popup will come in which you have to add a file (Image,Video or Music).
Click on Upload Button in the bottom of the pupup.
Step 4
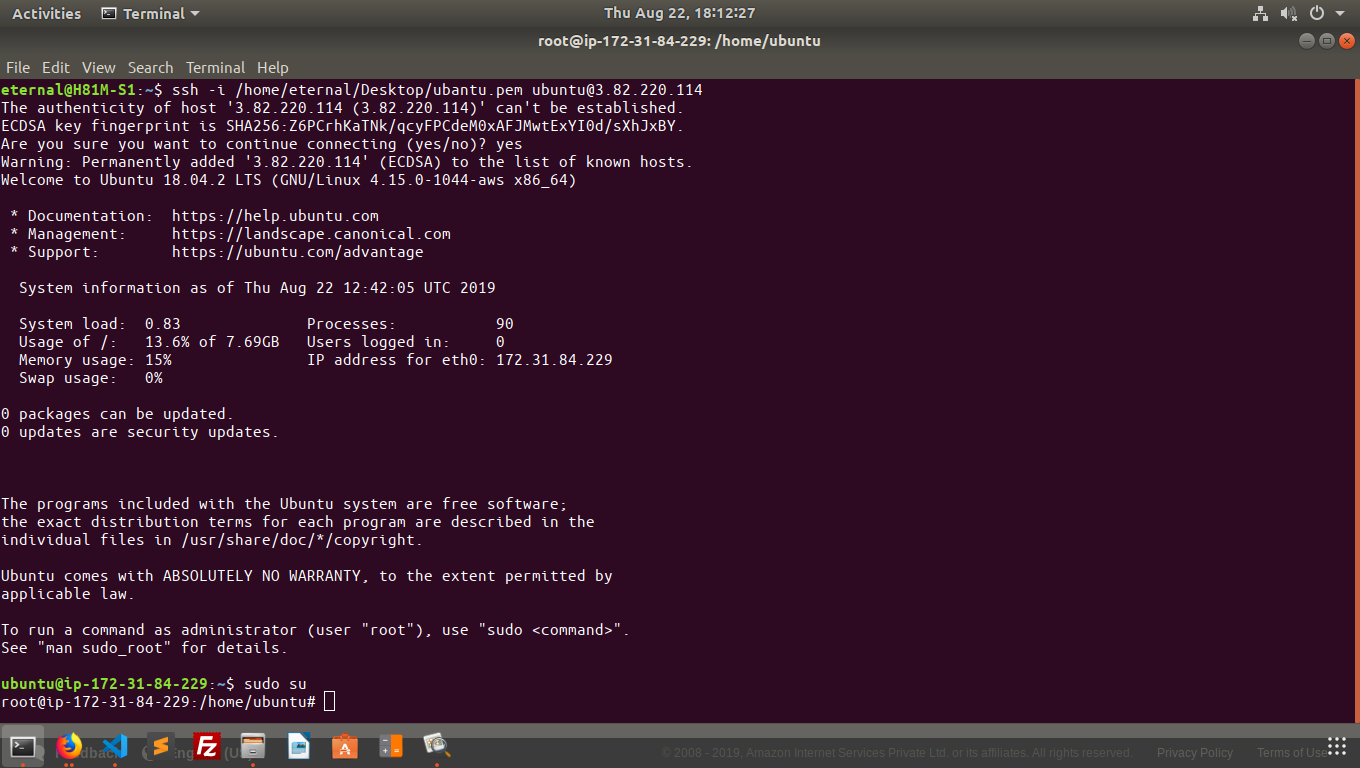
Connect your ubuntu server with KEY command to connect the server is as under.

Step 5
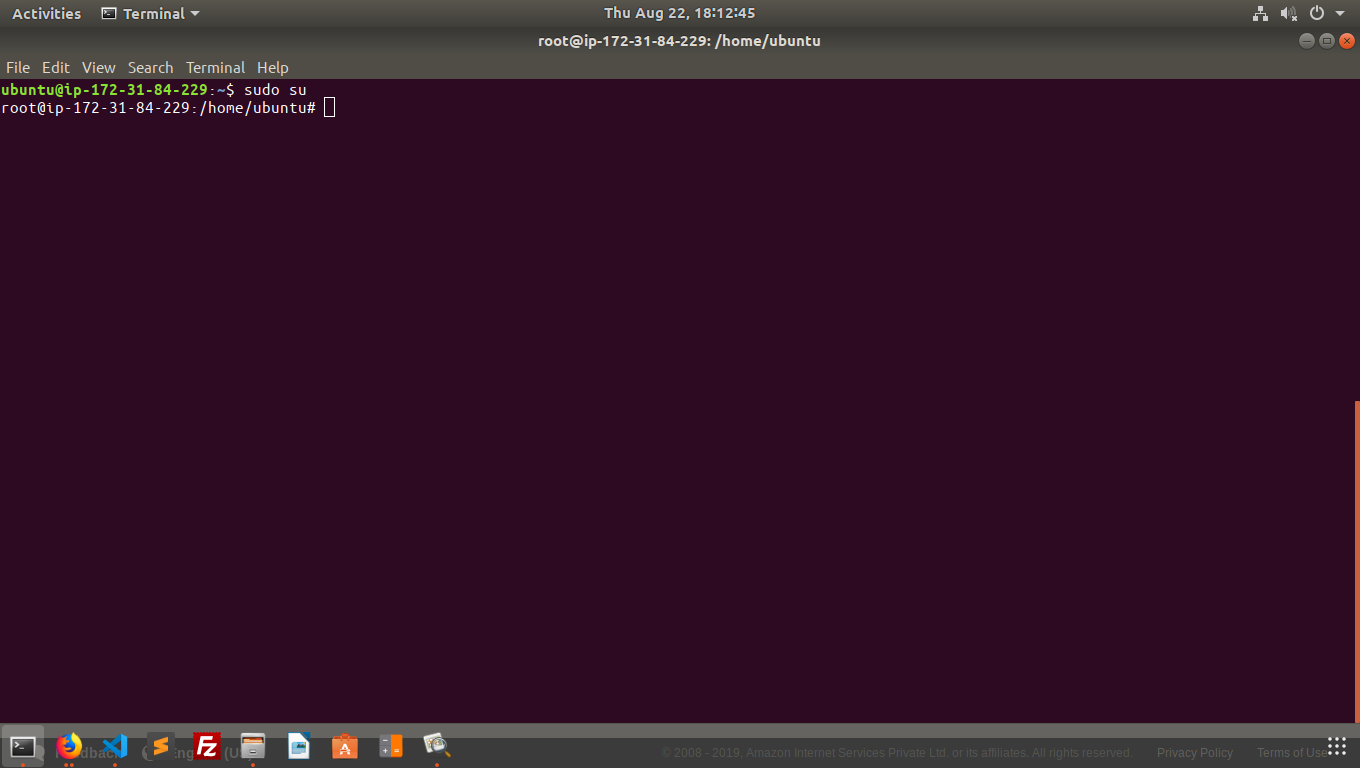
Enter the root user by the following command.

Step 6
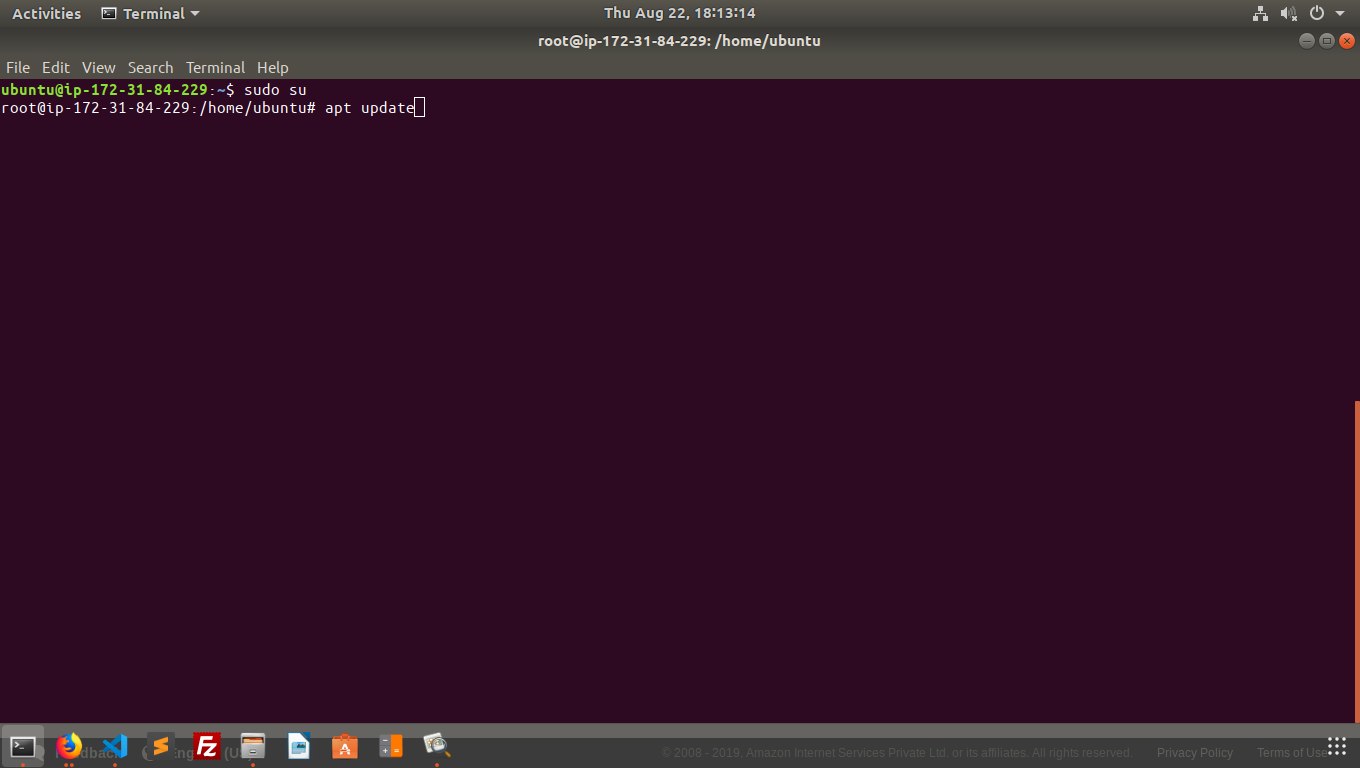
Update the ubuntu server by the following command.

Step 7
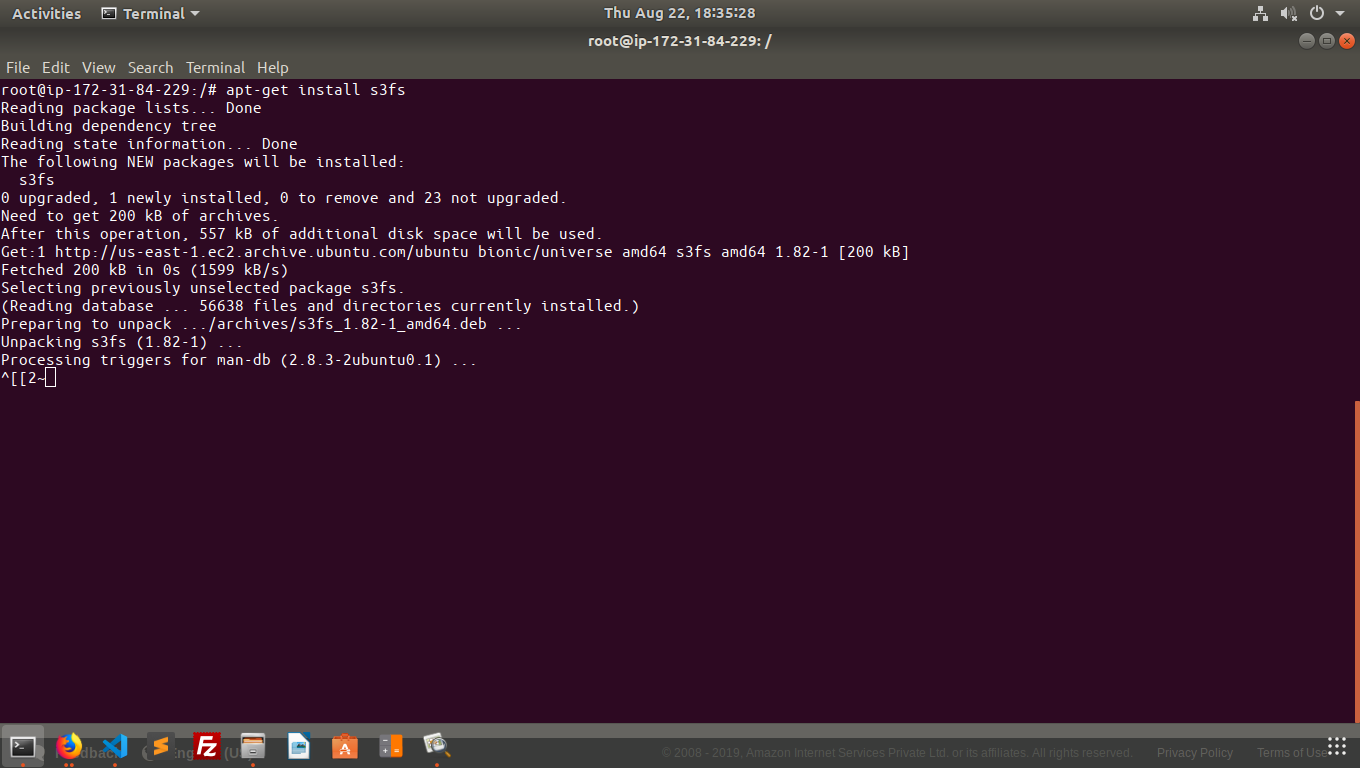
Install s3fs by the following command.

Install s3fs by the following command(If you are not in the root user).

Step 8
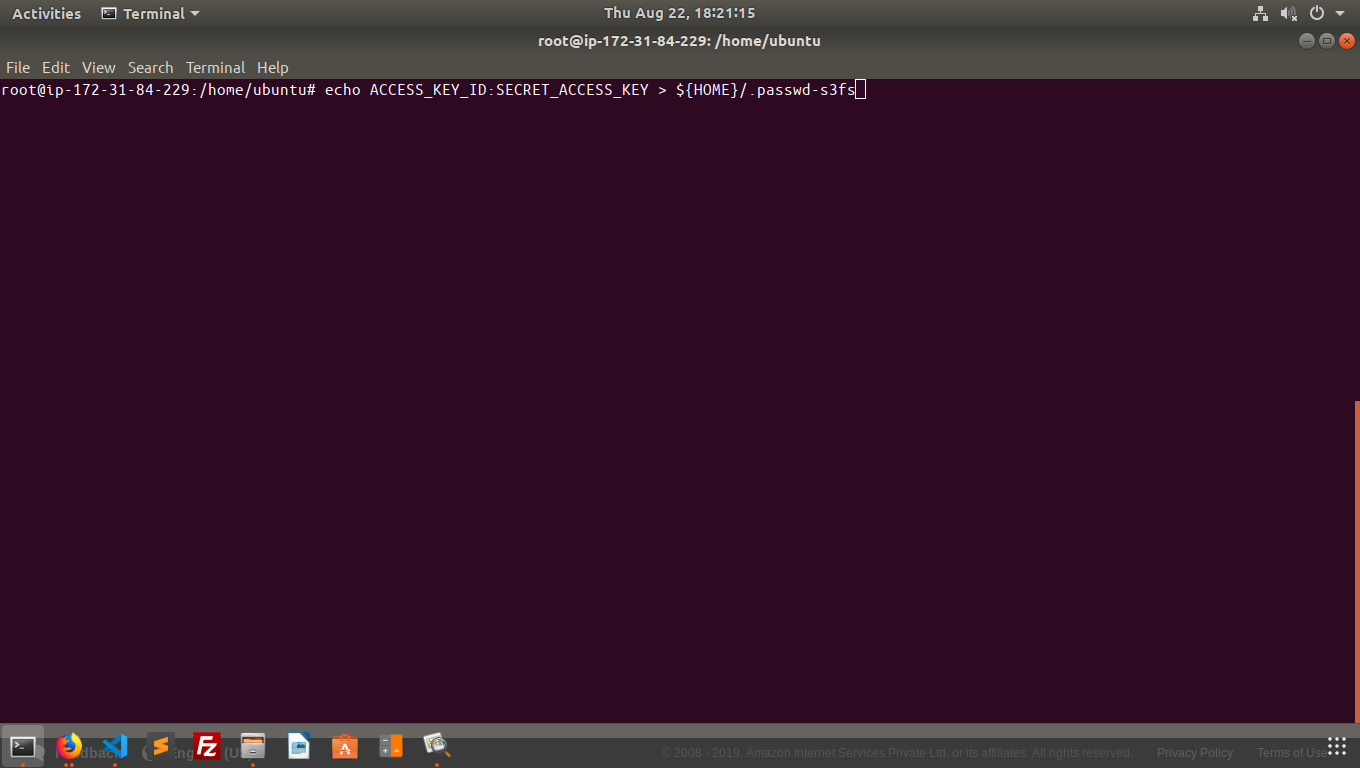
grant permission of you account by the following command.

Step 9
State the path where you want to show your S3 bucket by the following command.

If any Error comes run this command.

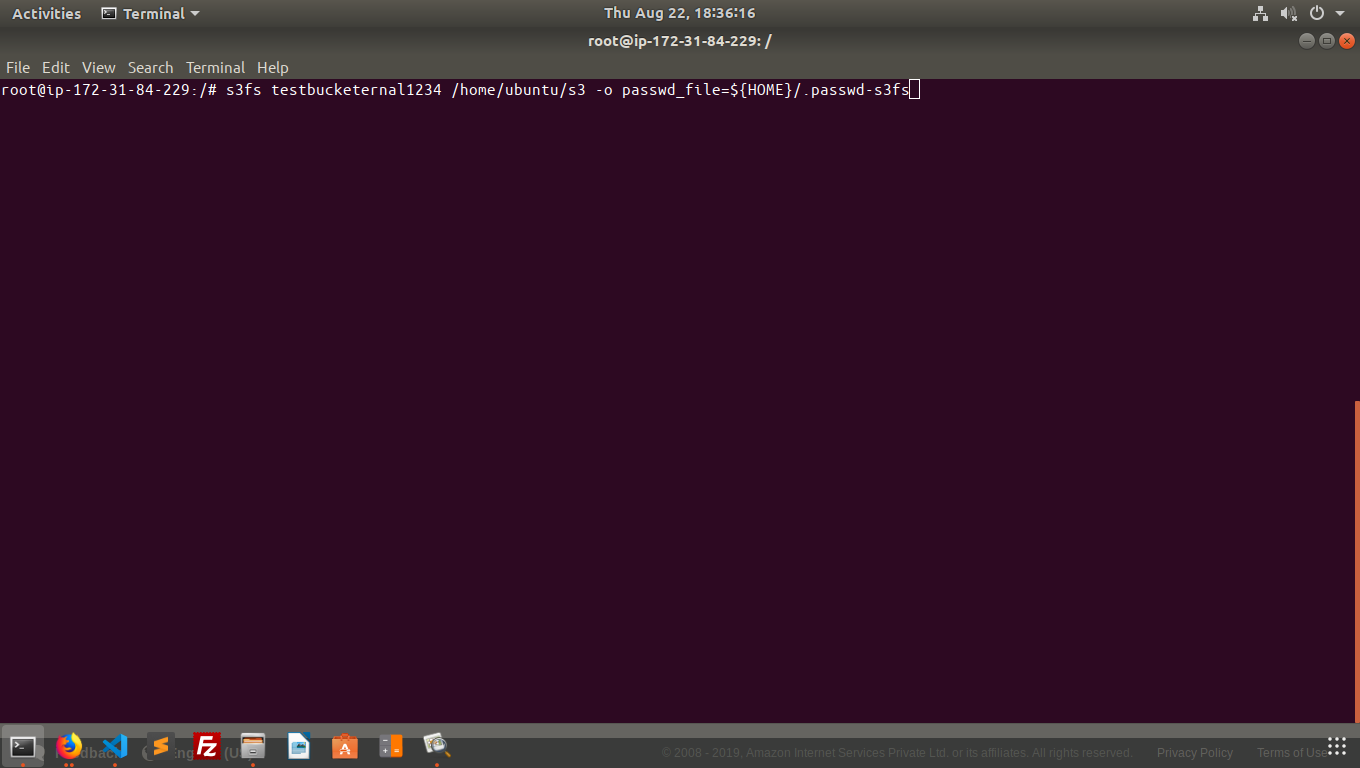
Step 10
Check the file where you have stored you S3 bucket and you will find the object which you have uploaded in the S3 Bucket.
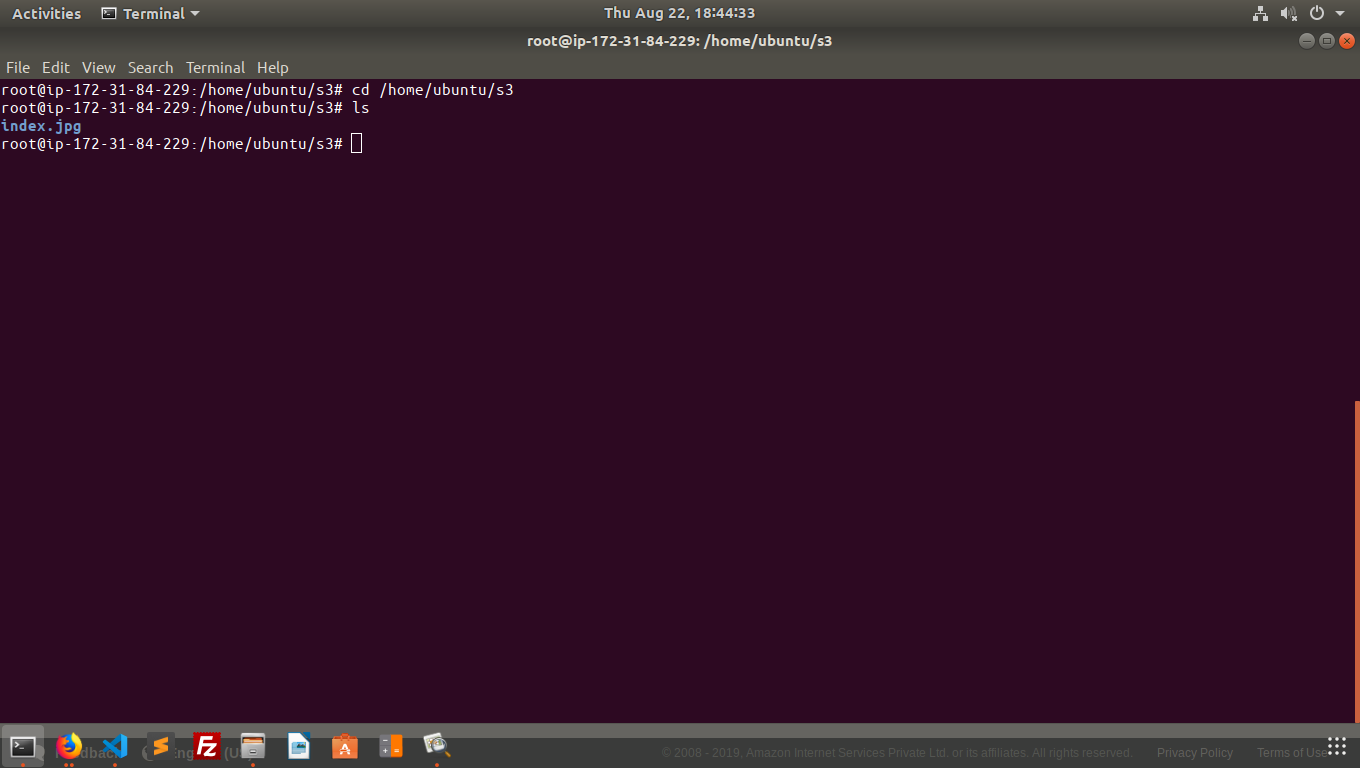
Step 11
Now copy the same object in the same location where you have stroed your S3 by the following command.

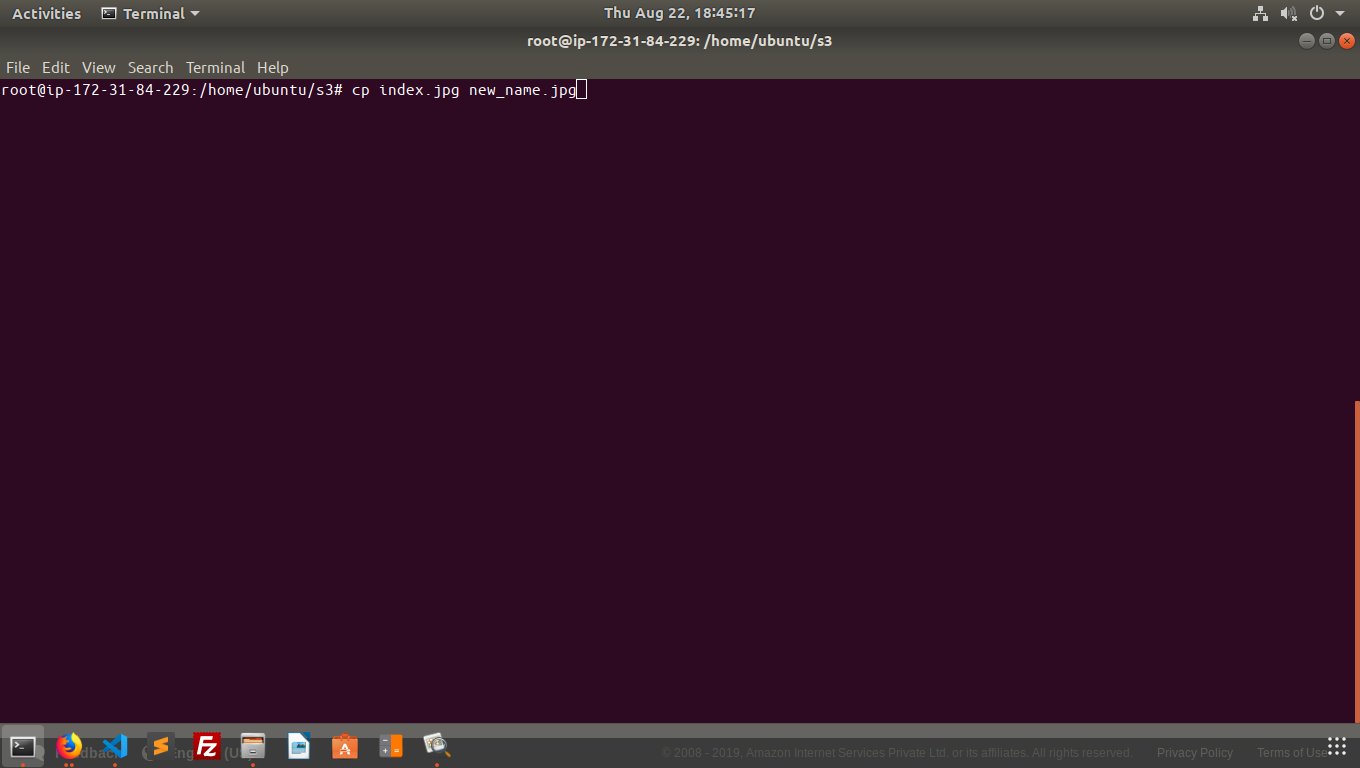
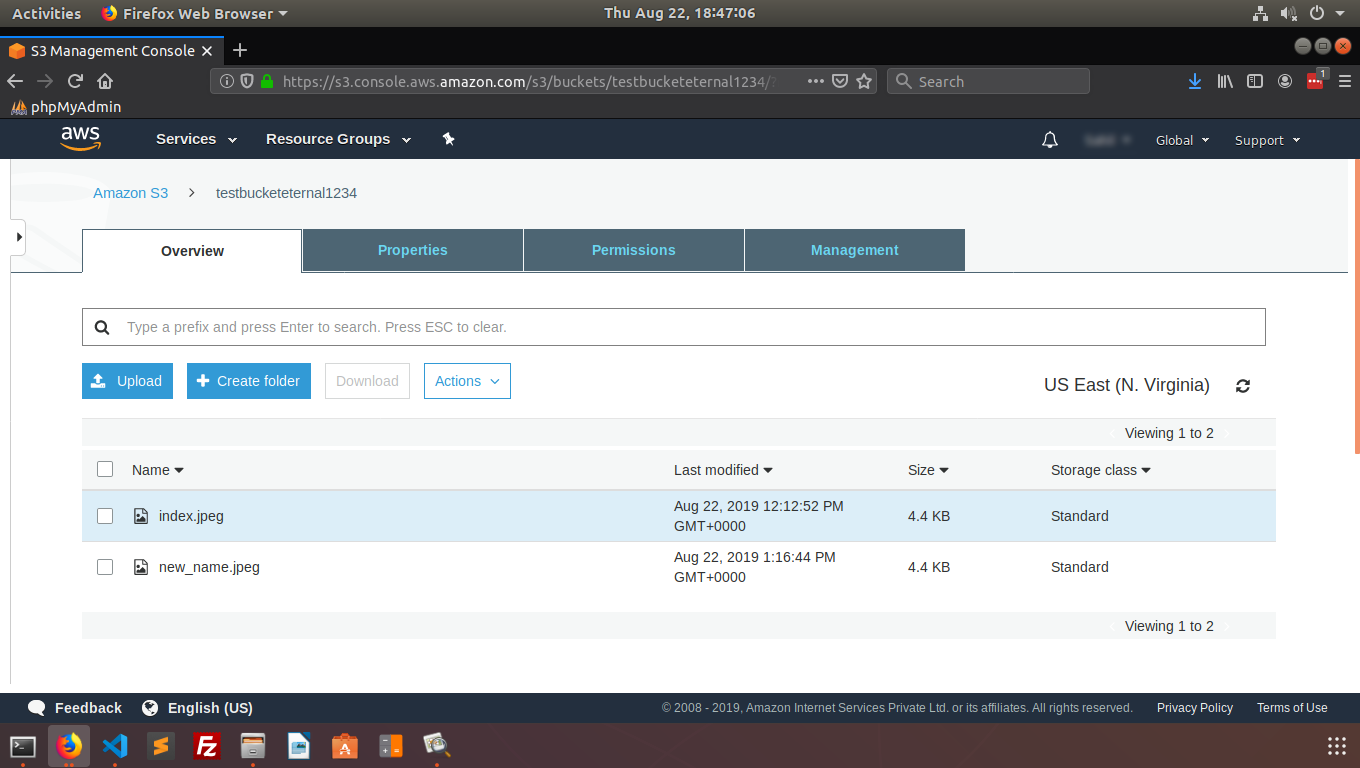
You can see that the new object will also appare in the AWS console under the S3 Bucketd.

As a Director of Eternal Web Private Ltd an AWS consulting partner company, Nirav is responsible for its operations. AWS, cloud-computing and digital transformation are some of his favorite topics to talk about. His key focus is to help enterprises adopt technology, to solve their business problem with the right cloud solutions.
Have queries about your project idea or concept? Please drop in your project details to discuss with our AWS Global Cloud Infrastructure service specialists and consultants.